

What is Pulsar?
Pulsar is Blockops’ managed indexing service designed to eliminate the complexity of running blockchain data infrastructure. It allows developers to deploy SubQuery or The Graph indexers to query blockchain data via high-performance GraphQL endpoints. Think of Pulsar as your dedicated indexing infrastructure team. Instead of spending weeks setting up servers, configuring databases, and managing RPC connections, you can deploy a production-ready indexer in minutes. Pulsar handles all the underlying infrastructure, including:- Server provisioning and scaling
- Database management and optimization
- RPC endpoint allocation and rate limiting protection
- Indexer synchronization and health monitoring
- High-availability GraphQL endpoint delivery
The Problem Pulsar Solves
Building applications on blockchain requires access to indexed data. Without an indexer, your application would need to scan every block on the blockchain to find relevant events - an approach that is slow, expensive, and impractical for most use cases.The Traditional Challenges
Before managed indexing services like Pulsar, developers faced significant hurdles:How Pulsar Addresses These Challenges
Pulsar eliminates these pain points by providing:- One-Click Deployment: Deploy indexers in minutes, not weeks. No server configuration or DevOps expertise required.
- Dedicated RPC Allocation: Every indexer gets its own RPC endpoint, eliminating rate limiting issues during sync.
- Automatic Scaling: Infrastructure scales automatically based on your indexer’s needs.
- Built-in Monitoring: Real-time sync status, health metrics, and log access from a unified dashboard.
- Production-Ready Endpoints: High-availability GraphQL endpoints with automatic failover.
Getting Started
This section walks you through deploying your first indexer on Pulsar. By the end, you’ll have a fully operational indexer syncing blockchain data and serving GraphQL queries.Step 1: Accessing the Pulsar Dashboard
To begin, navigate to your Blockops project dashboard. In the left sidebar, you’ll see the Pulsar option under the Products section. Click on it to access the Pulsar dashboard.If this is your first time using Pulsar, you’ll see an empty state dashboard with a prominent “Create Indexer” button. If you have existing indexers, you’ll see them listed with their current status.
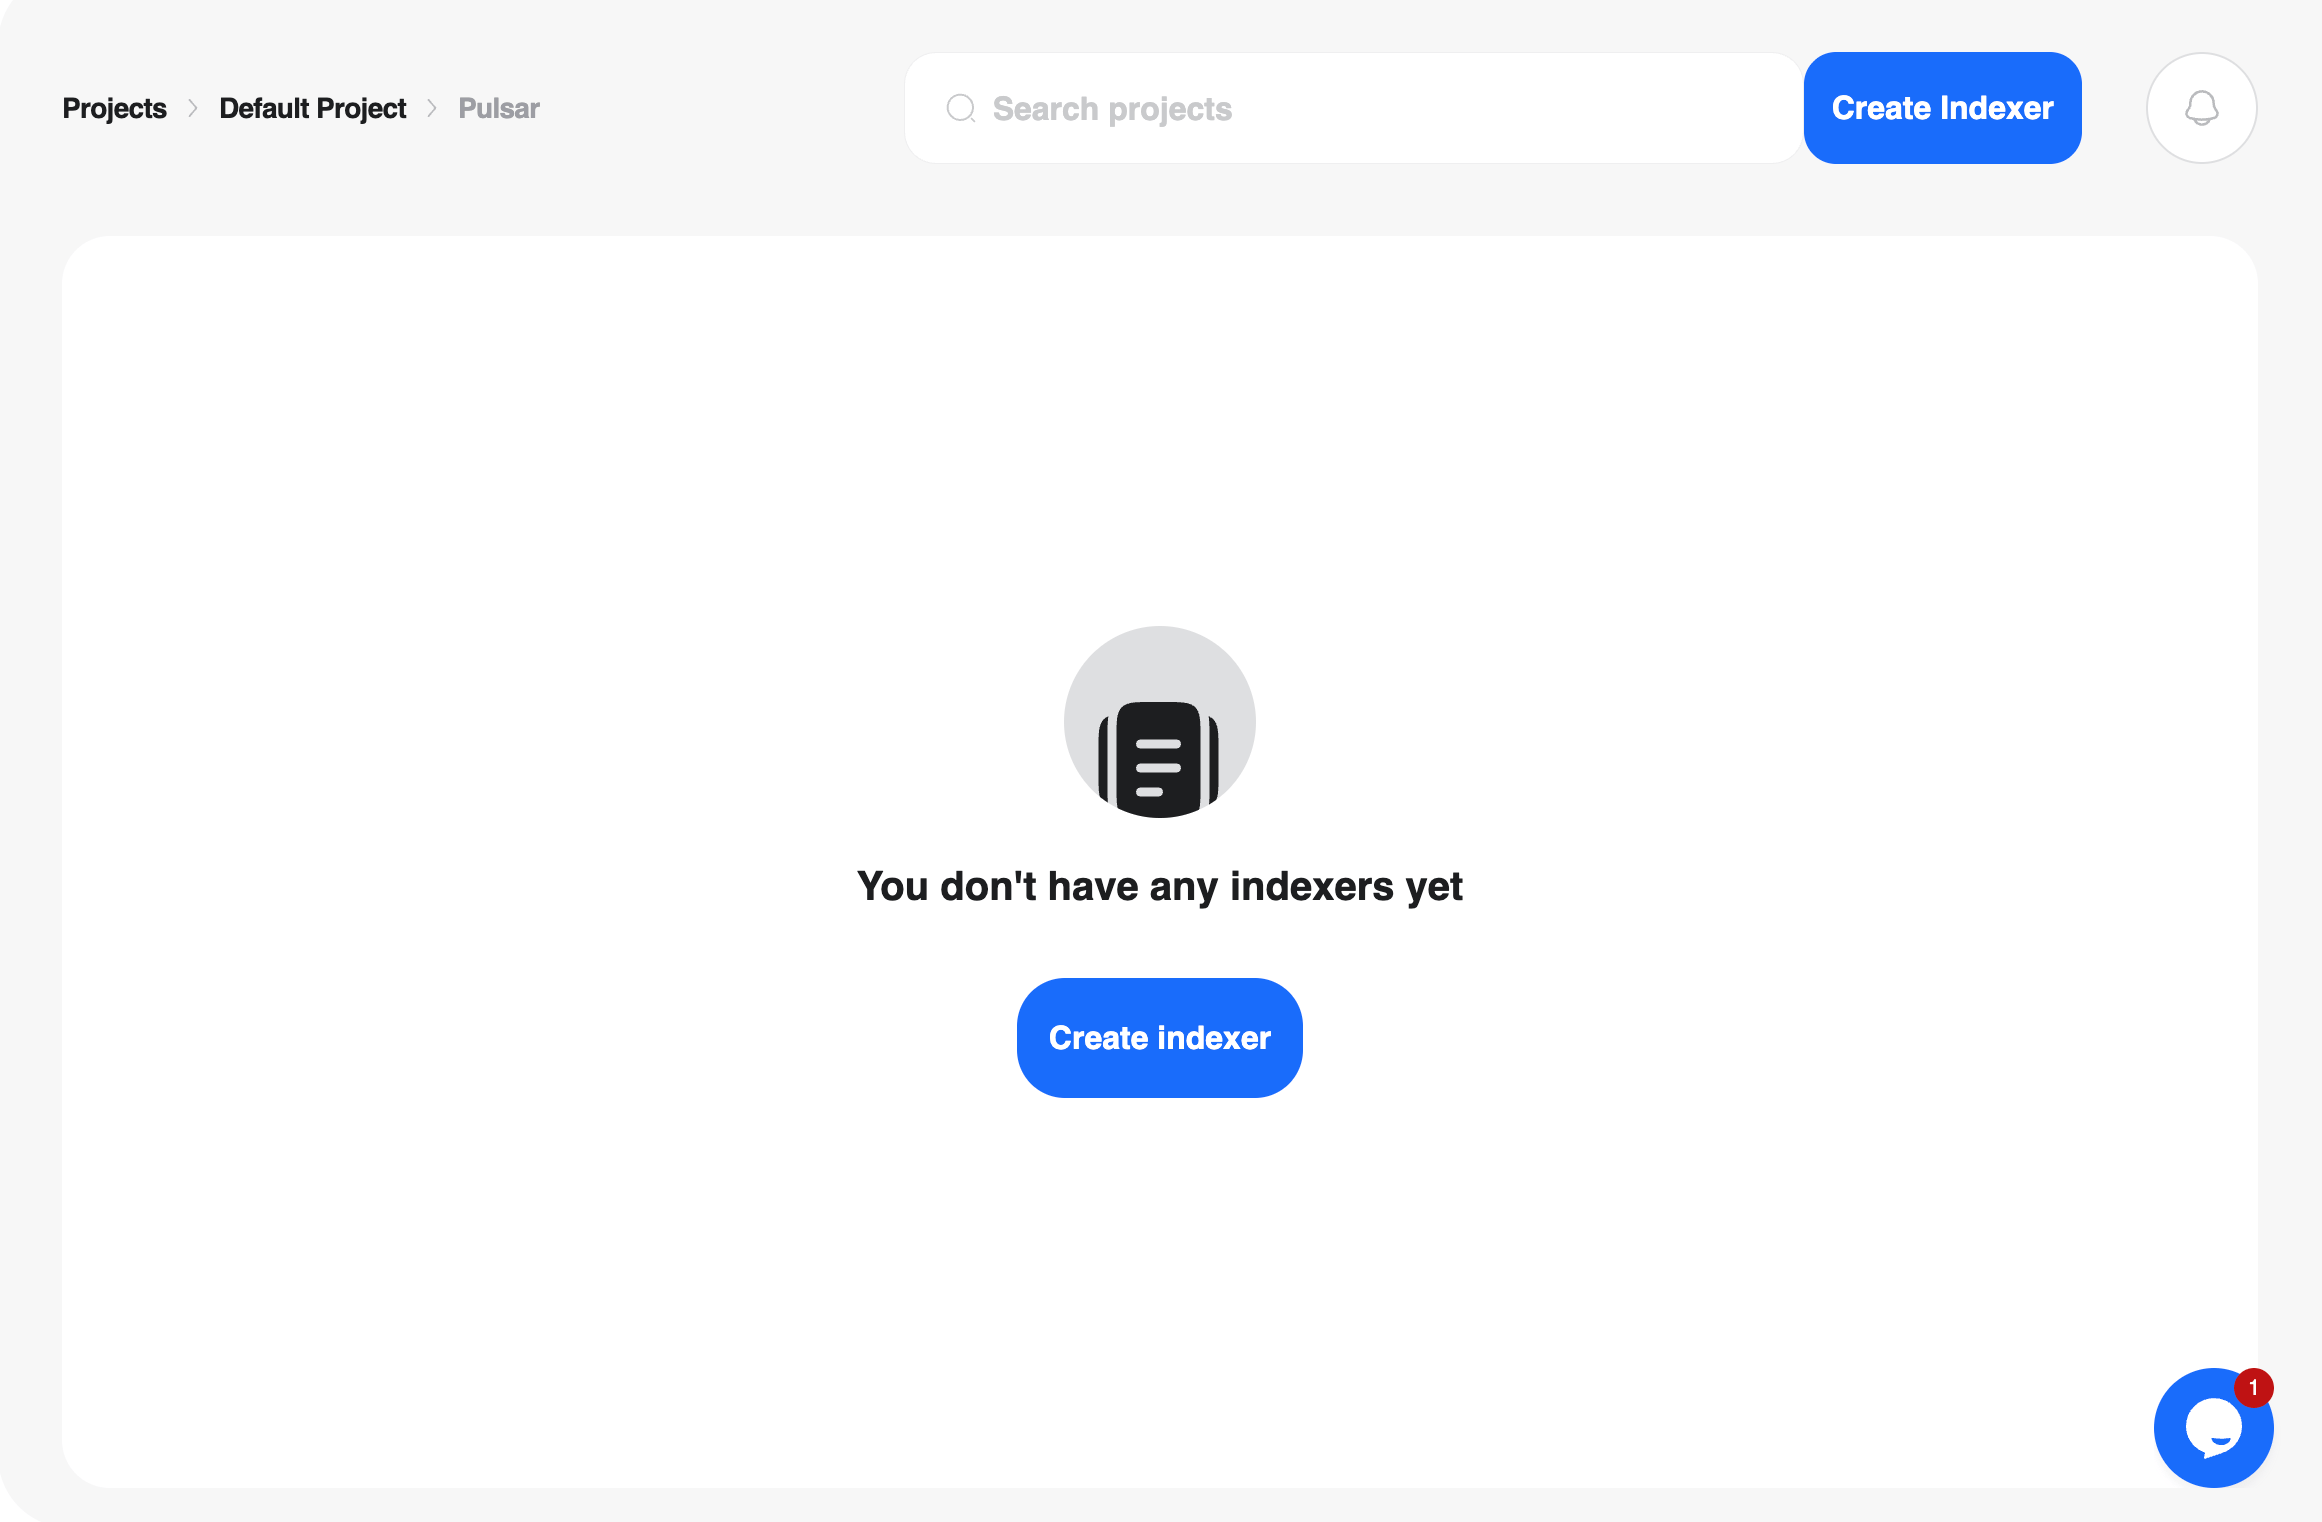
Step 2: Creating Your First Indexer
Click the Create Indexer button to begin the deployment process. You’ll be presented with two distinct deployment paths: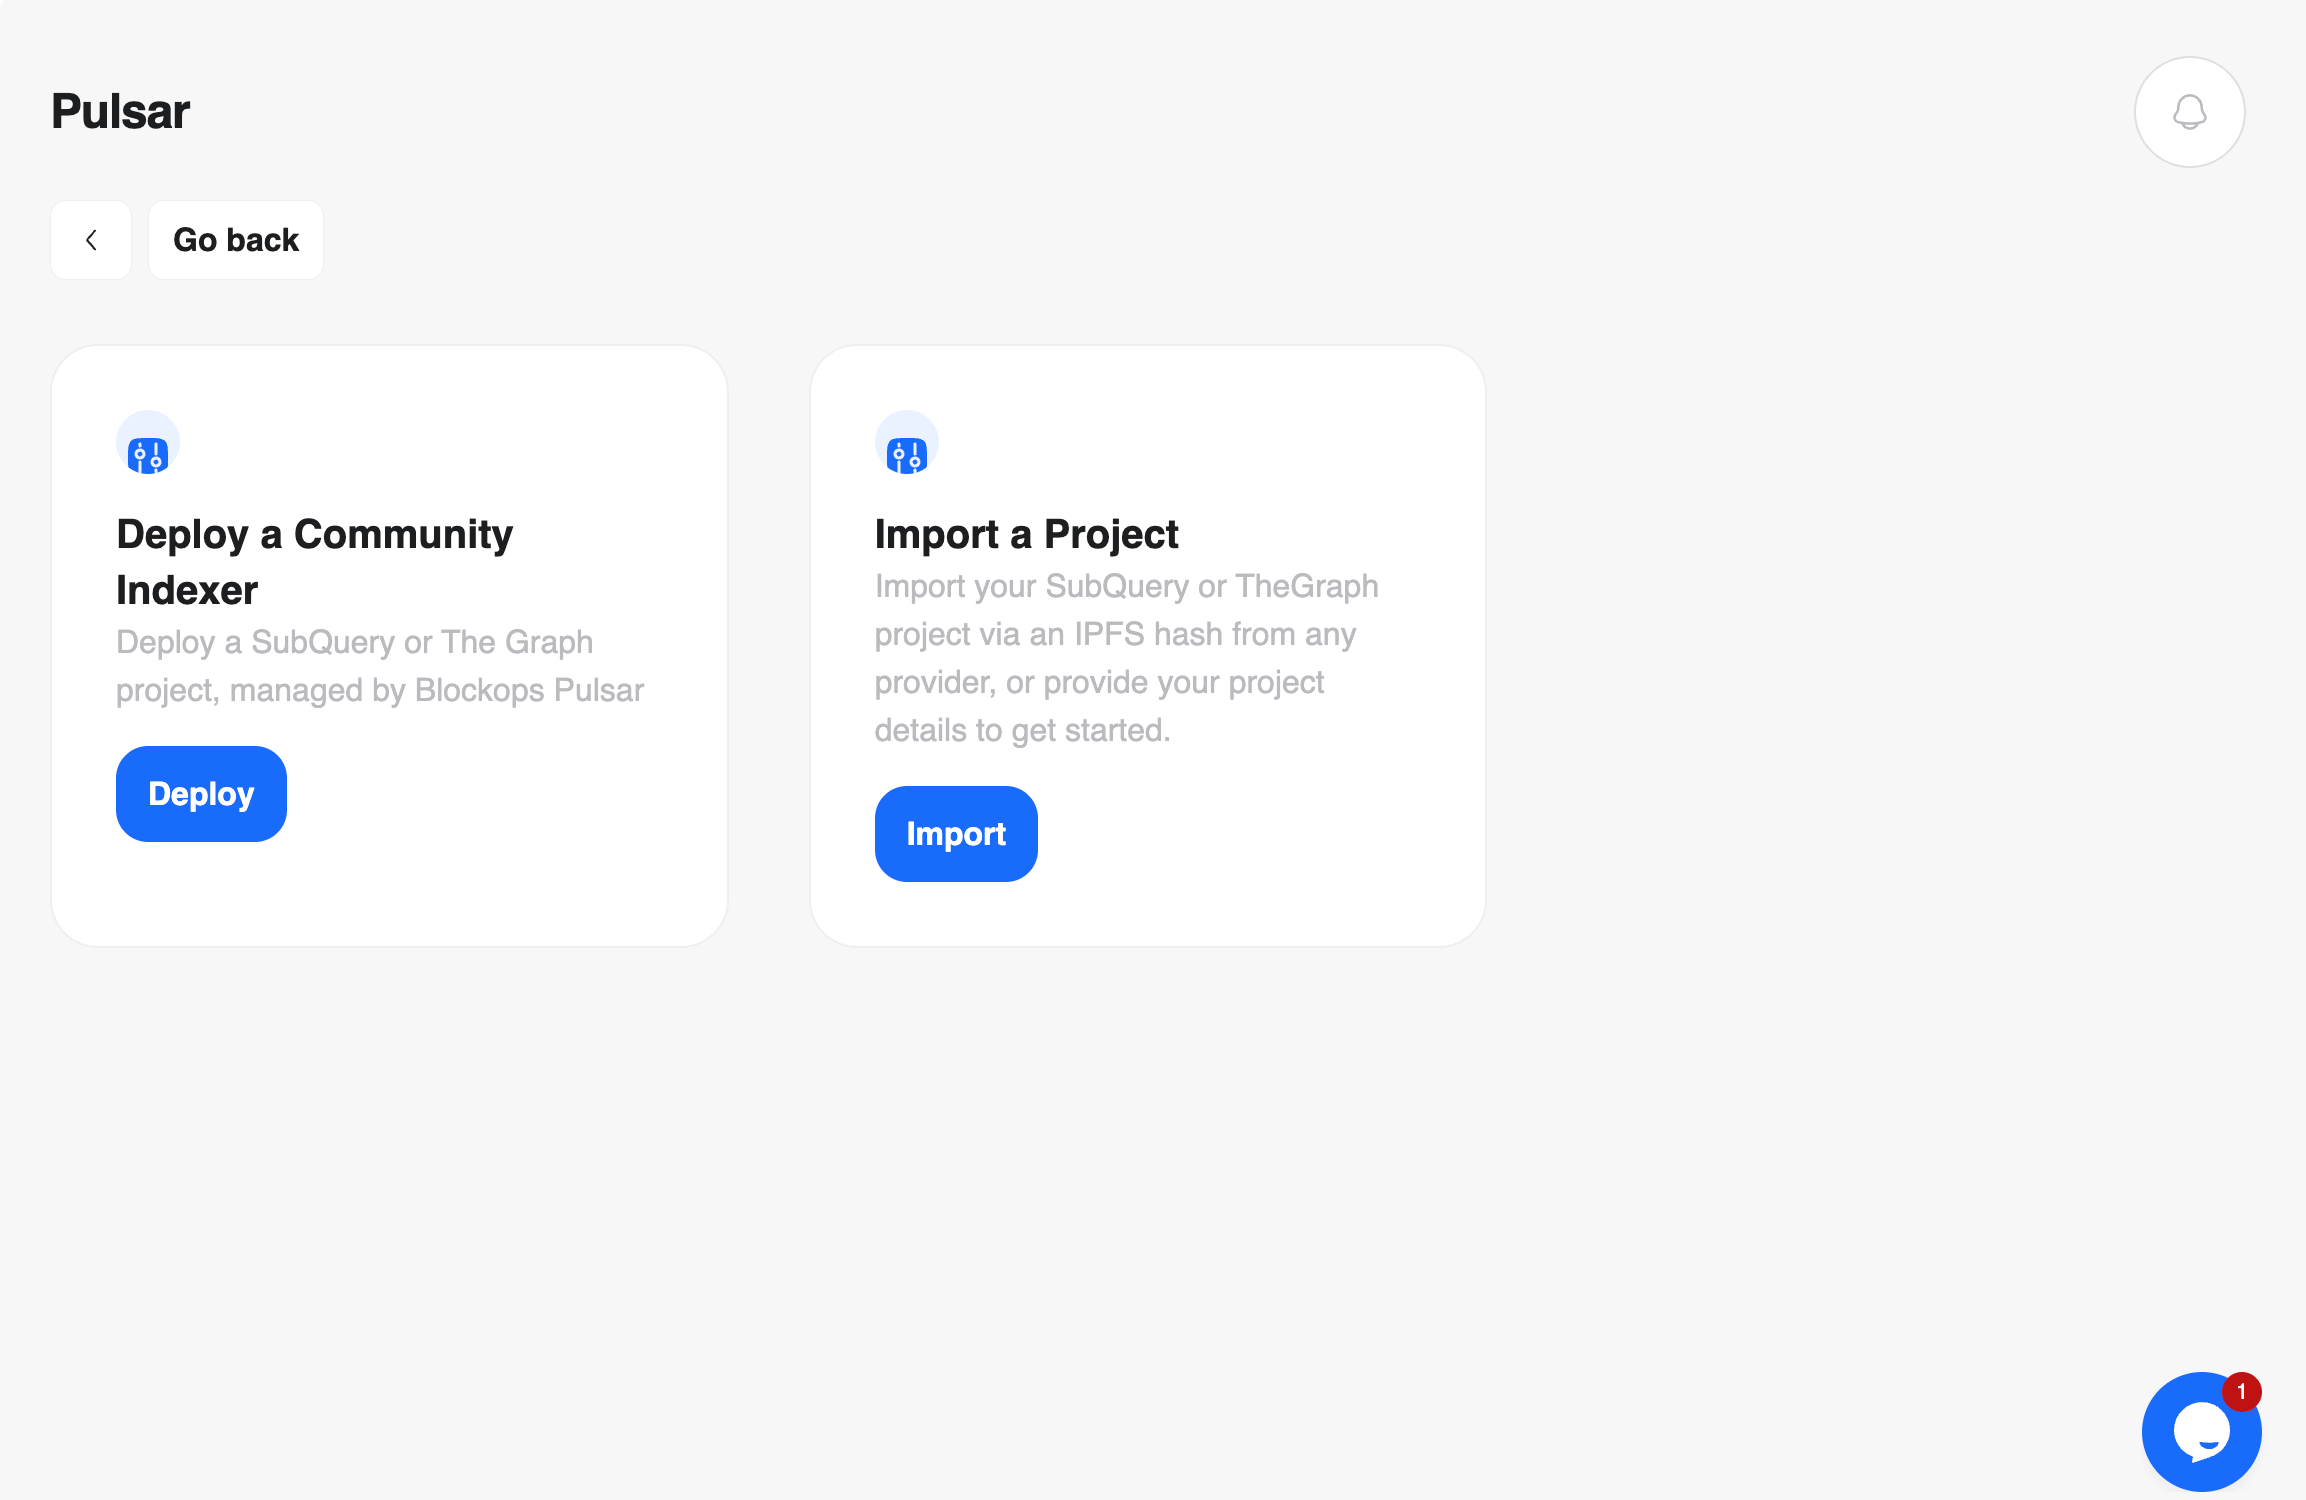
Option A: Deploy a Community Indexer (Recommended)
Community Indexers are pre-configured, verified indexers maintained by Blockops. This is the fastest way to get started with popular blockchain protocols. Select this option if you want to index standard data like token transfers, DEX trades, or NFT events without writing custom indexing logic.Option B: Import a Project
If you have a custom Subgraph or SubQuery project, select this option to import it via an IPFS hash. This is ideal if you’ve developed custom indexing logic for your specific use case.Custom project imports are currently handled through our Concierge service to ensure optimal resource allocation and compatibility. After selecting this option, you’ll be prompted to contact our team for assistance.
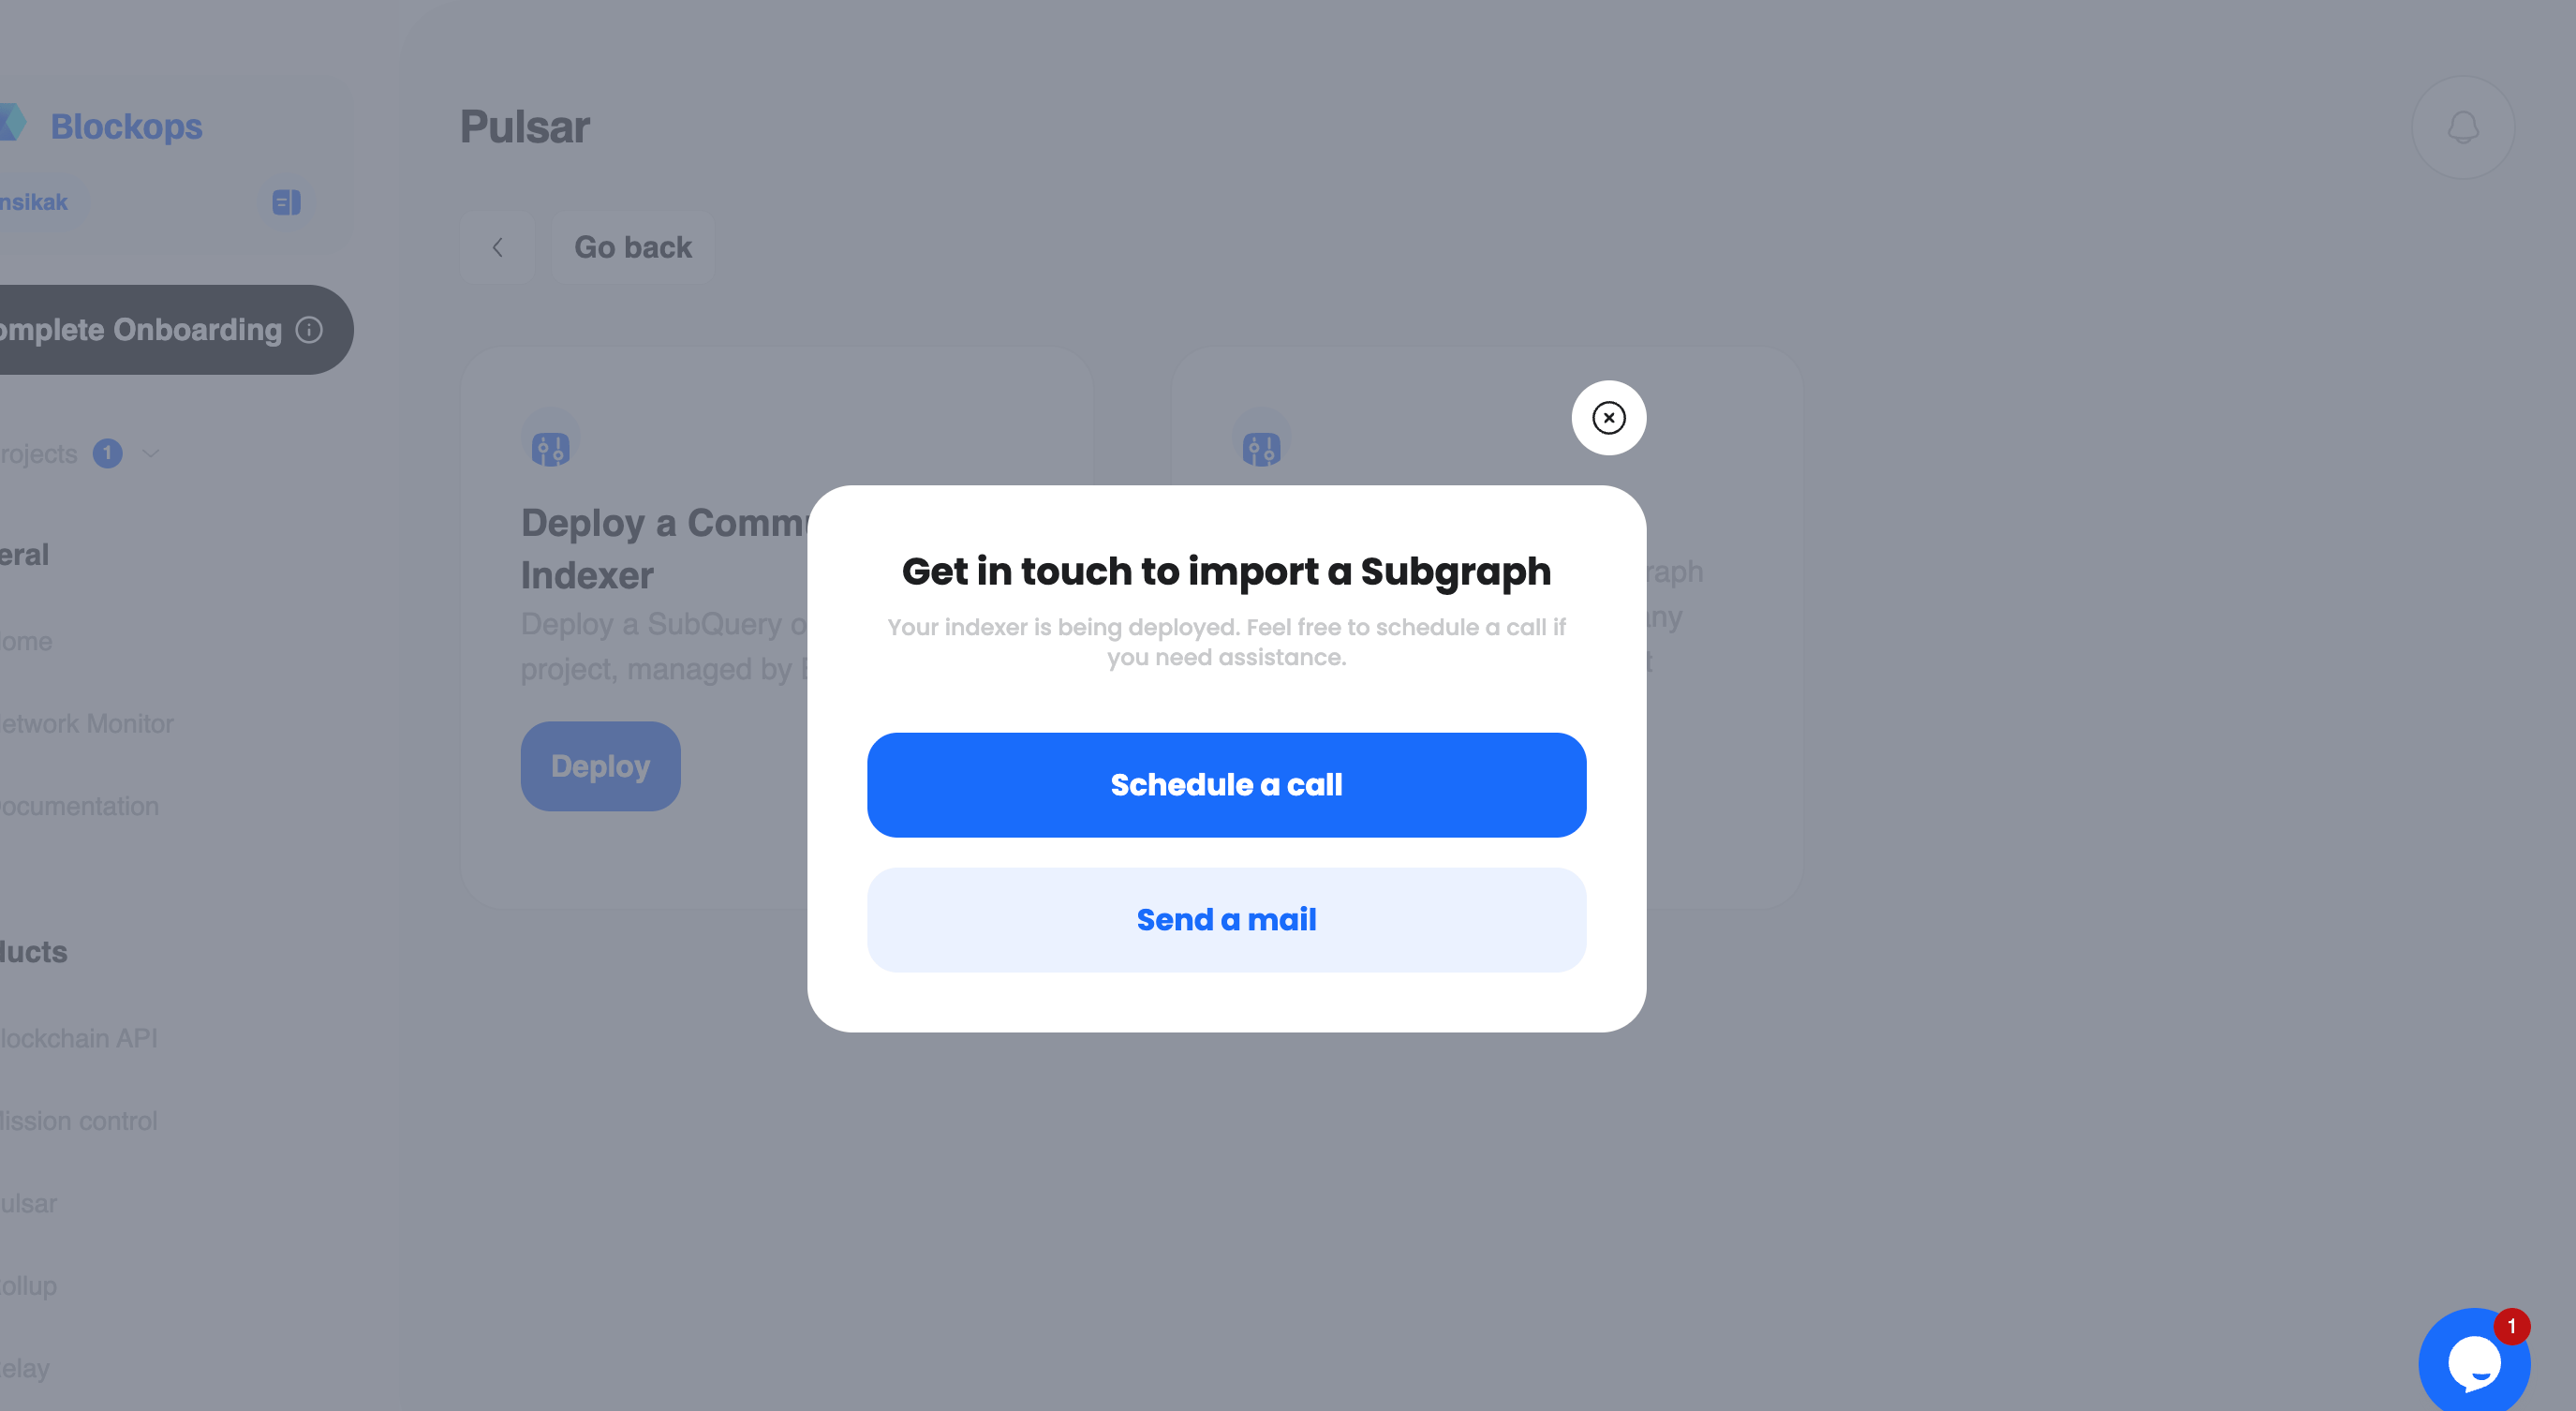
Step 3: Configuring Your Indexer
After selecting “Deploy a Community Indexer,” you’ll enter the configuration wizard. This process has two main stages:3.1 Protocol Configuration
First, you’ll configure the blockchain protocol and indexing framework: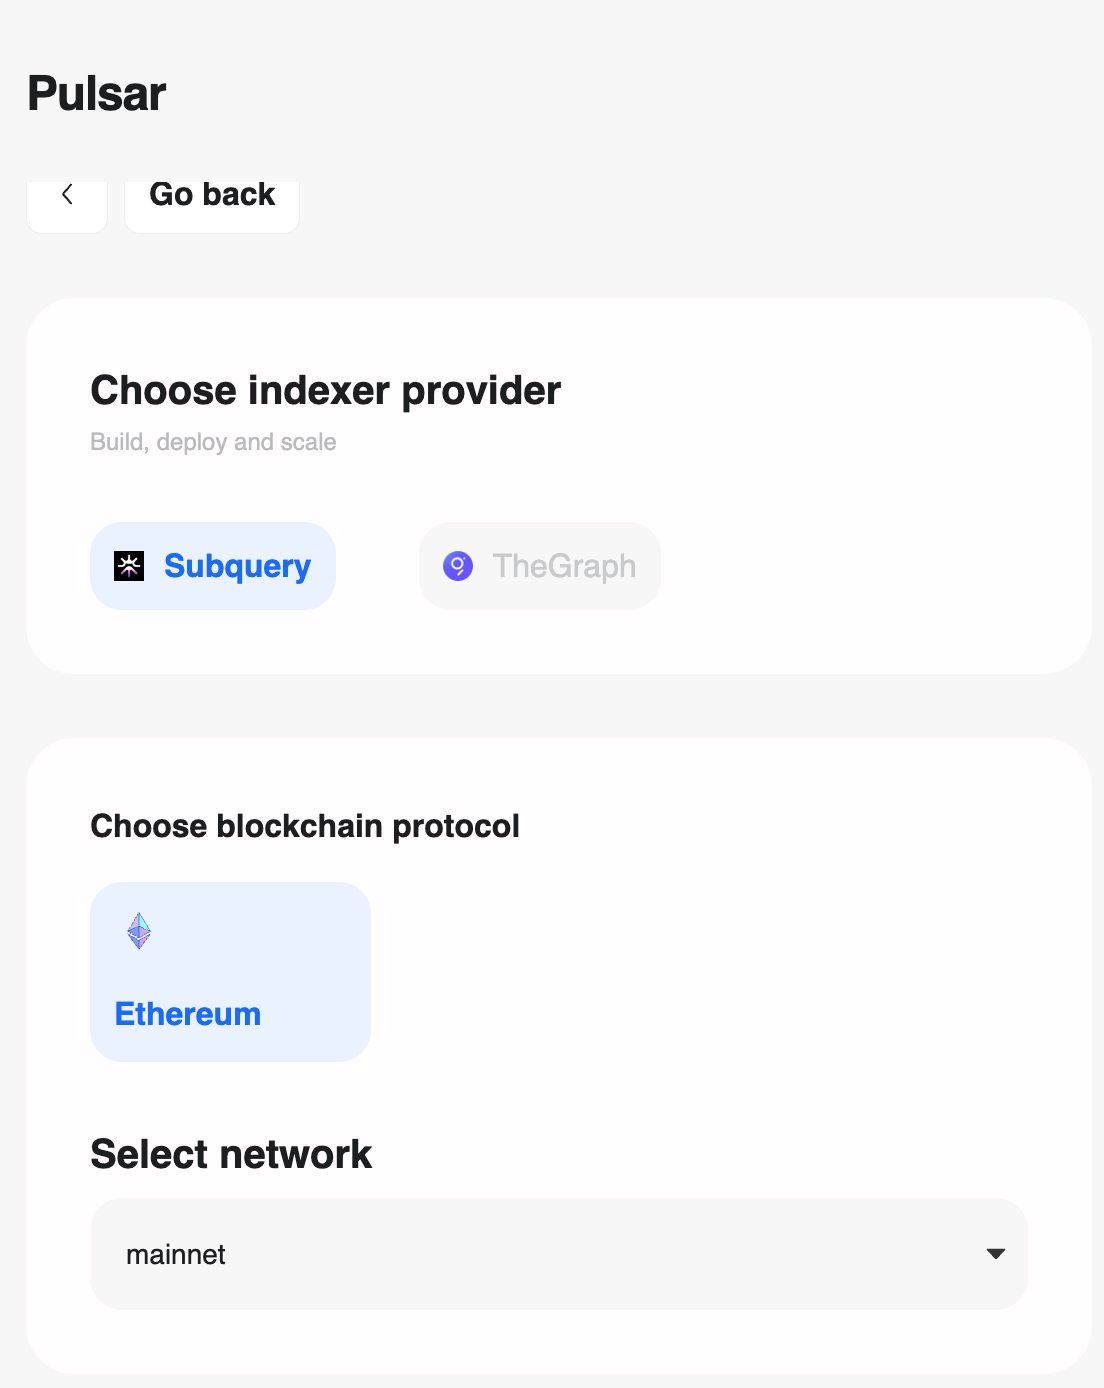
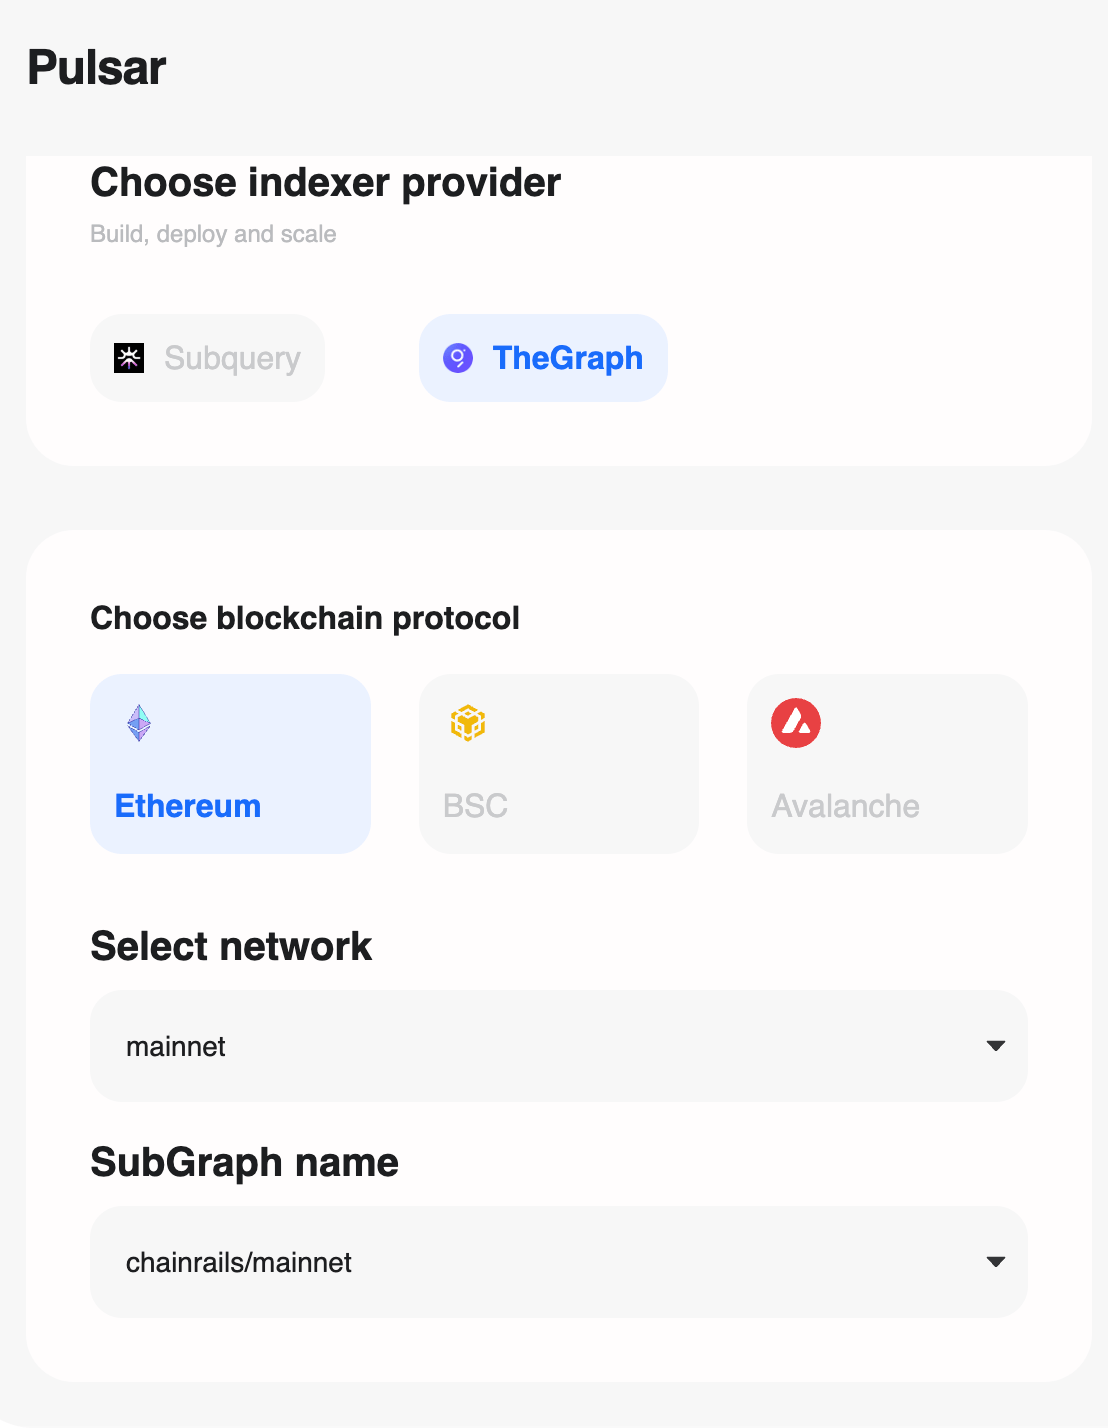
for the graph there are more blockchain protocol selection
3.2 Infrastructure Settings
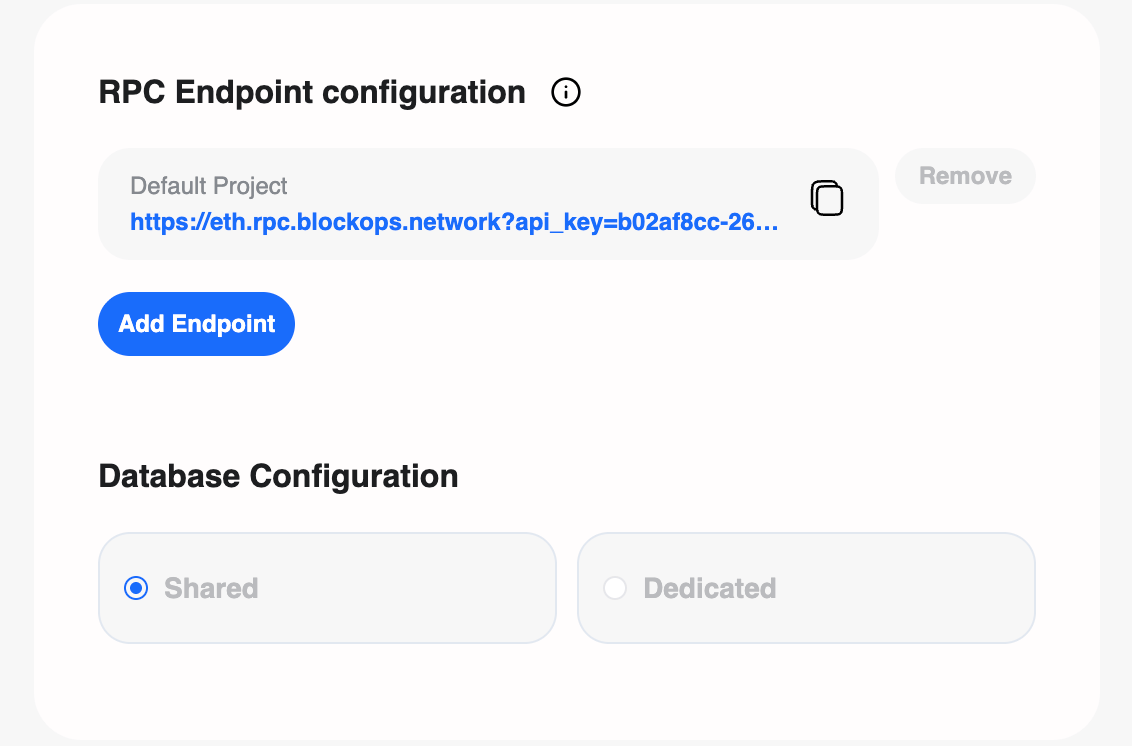
Next, you’ll configure the infrastructure for your indexer: RPC Endpoint: Pulsar automatically assigns a dedicated Blockops RPC endpoint to your indexer. This ensures your indexer never gets rate-limited during heavy synchronization operations. The RPC endpoint is exclusively allocated to your indexer and is not shared with other users. Database: Choose between two database options:- Shared Database: Best for testing, development, and low-volume production queries. Resources are shared across multiple indexers, making this a cost-effective option for getting started.
- Dedicated Database: Recommended for production applications requiring high IOPS, consistent performance, and exclusive resources. Your database runs on isolated infrastructure with guaranteed performance.
Step 4: Deploying Your Indexer
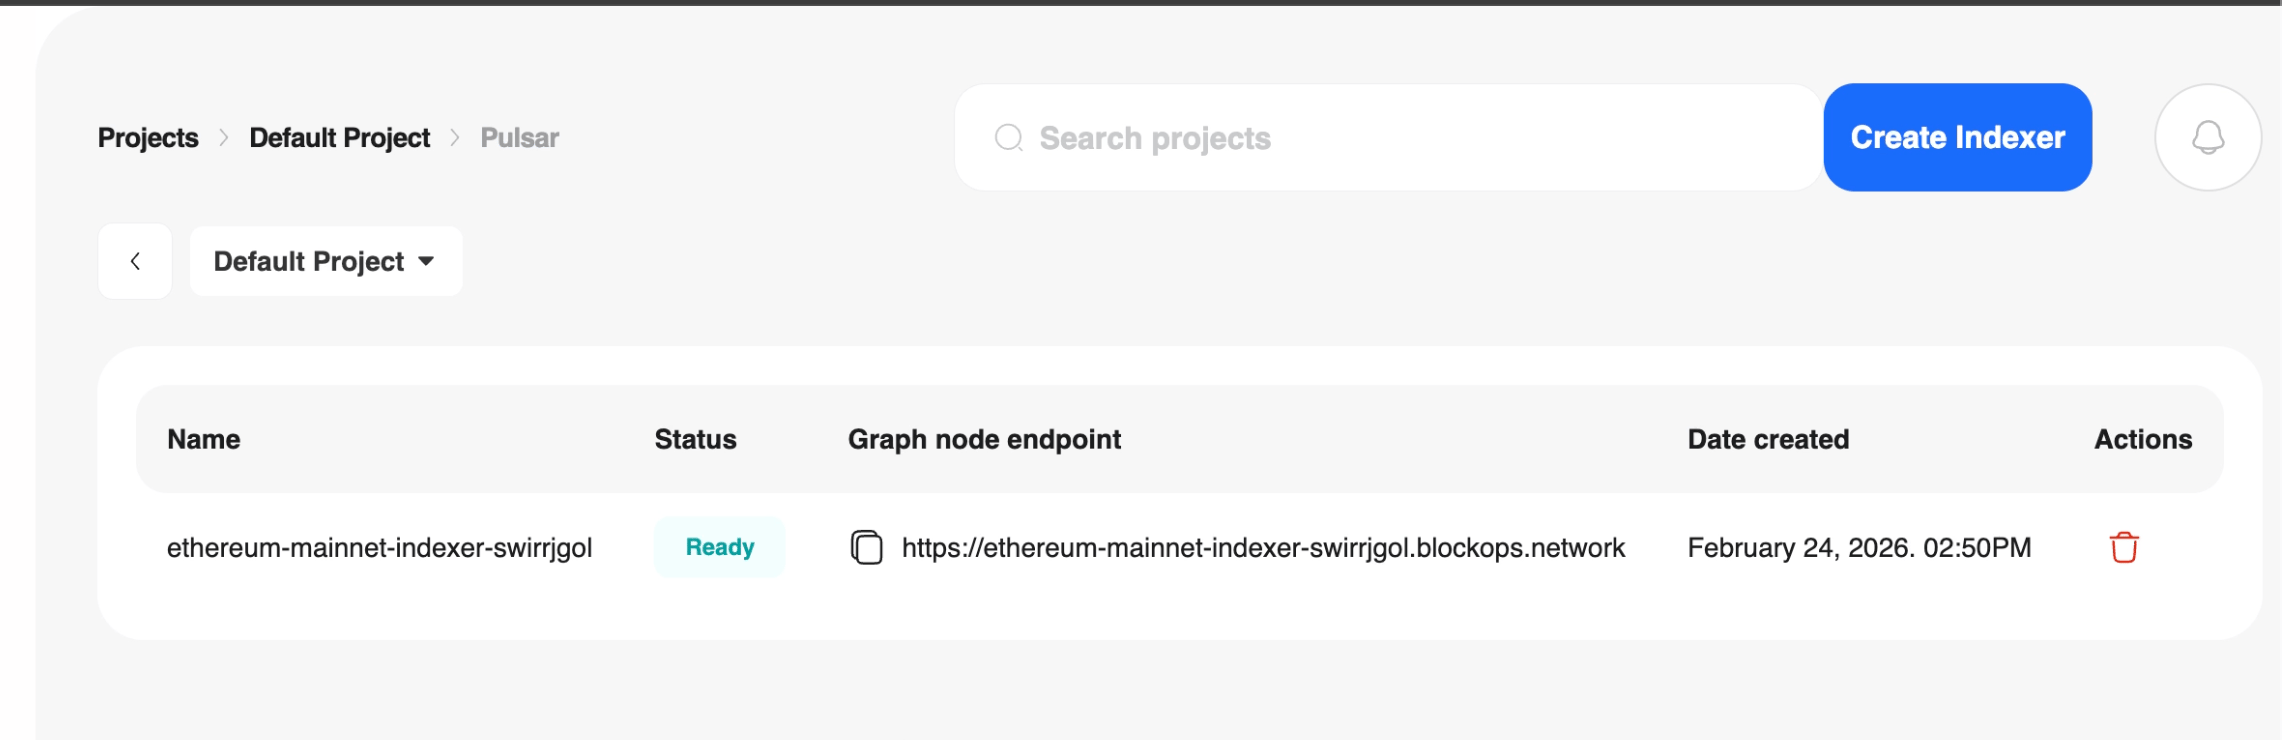
After configuring your settings, click the Deploy button to initiate deployment. The deployment process typically takes 2-5 minutes, during which Pulsar:- Infrastructure Provisioning: Pulsar allocates the necessary compute resources for your indexer.
- Database and RPC Setup: Configures the database and establishes dedicated RPC connections.
- Code Deployment: Deploys your subgraph or SubQuery project code to the infrastructure.
- Sync Initiation: Begins indexing blockchain data from the starting block.
Understanding Your Deployed Indexer
After deployment, clicking on your indexer name opens the detailed indexer view. This section explains what you’ll see and how to interpret the information.Indexer Overview Panel
The top section displays essential information about your indexer: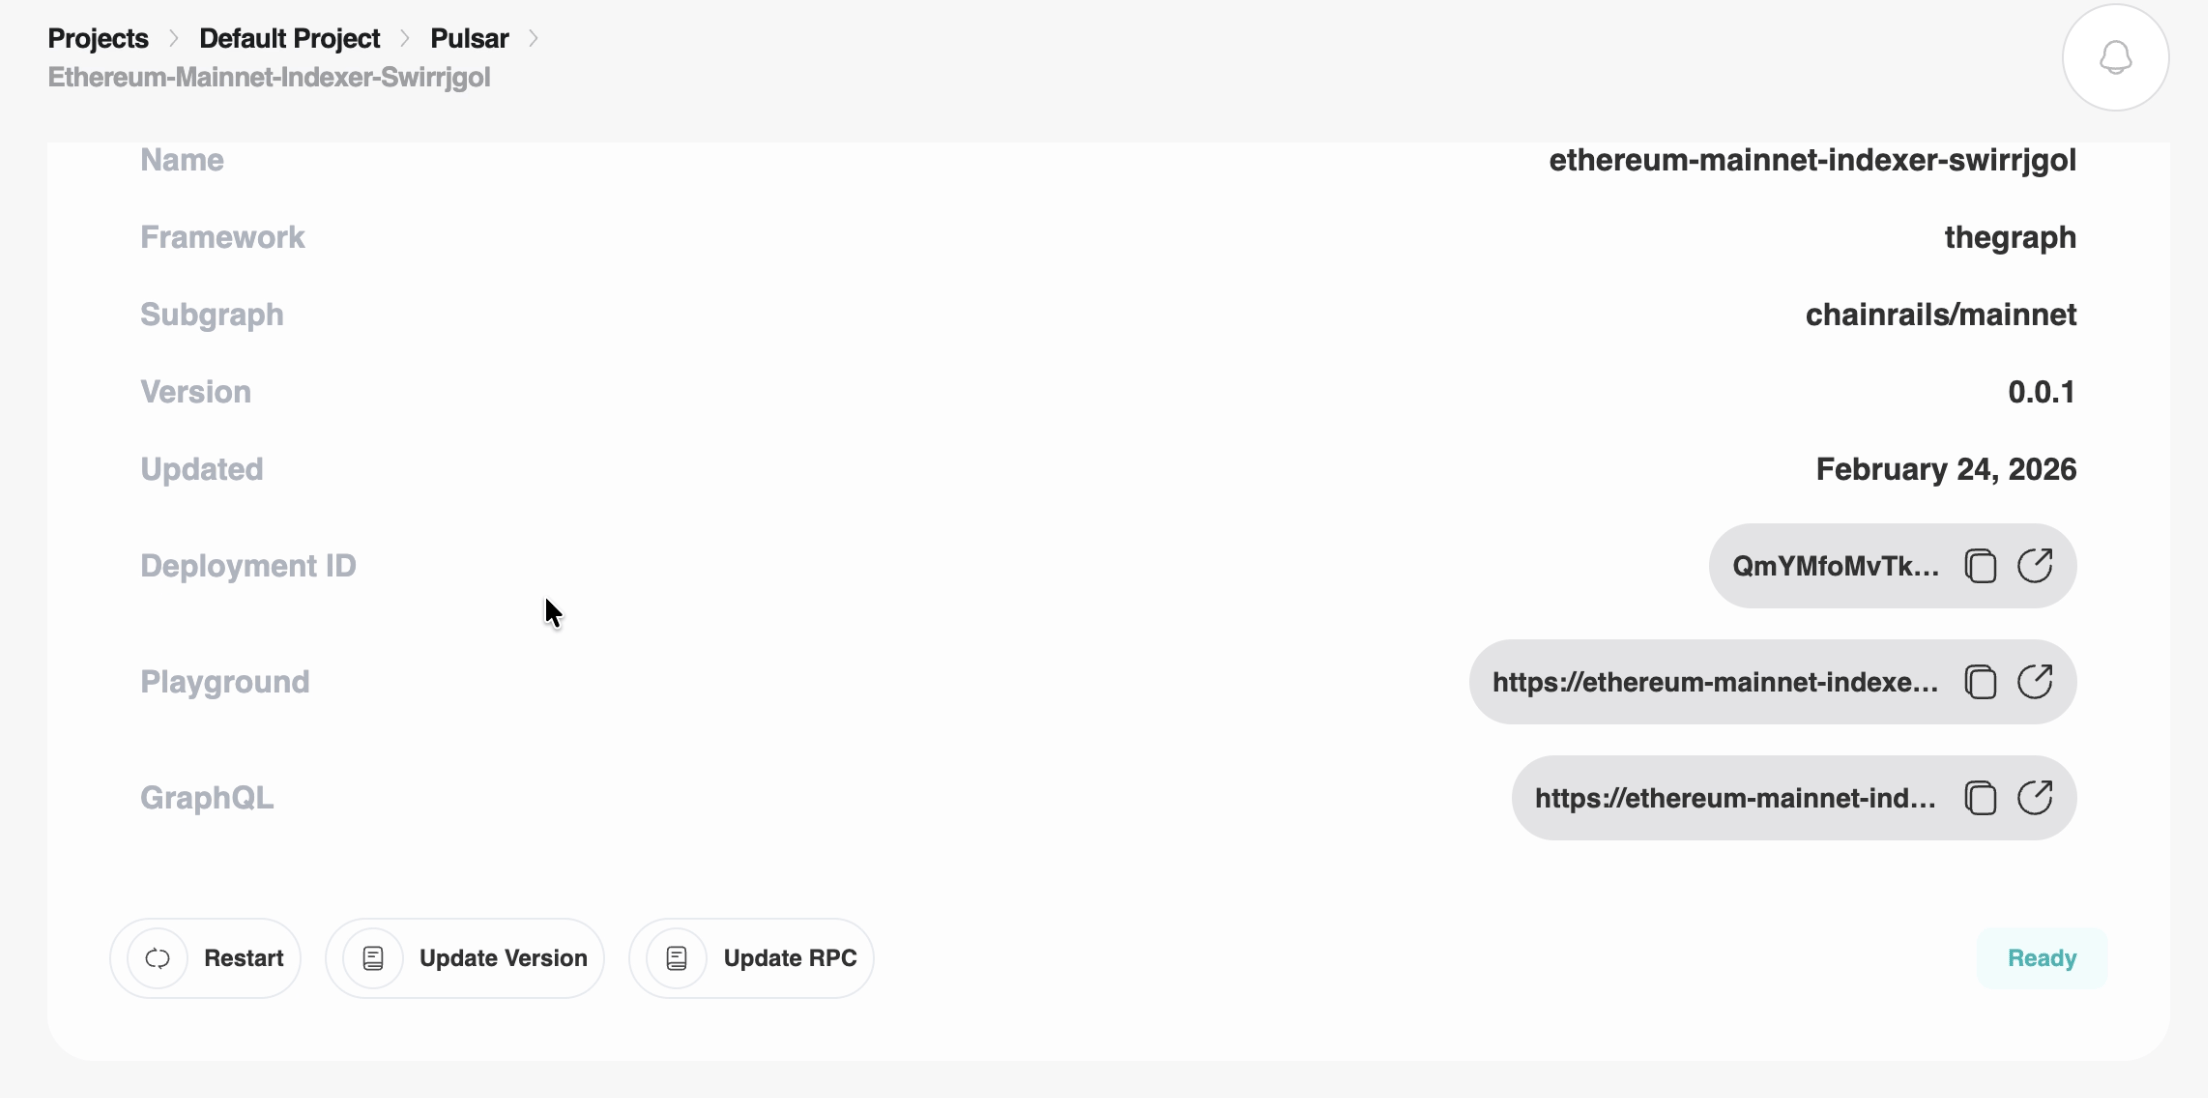
Indexer Status and Health Monitoring
The Status section provides real-time visibility into your indexer’s synchronization progress:
Available Actions
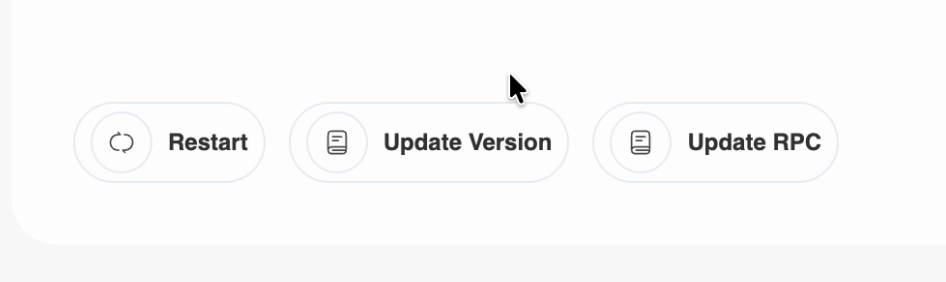
The Actions panel provides three management options:- Restart: Restarts your indexer process. This is useful if you notice your indexer has stopped syncing or is experiencing issues. The restart process preserves your indexed data and resumes synchronization from where it left off.
- Update Version: Allows you to update your indexer to a new version of the subgraph or SubQuery project. When a new version is published to IPFS, you can use this action to deploy the updated code to your indexer.
- Update RPC: Changes the RPC endpoint assigned to your indexer. This can be useful if you’re experiencing RPC-related issues or want to switch to a different region for lower latency.
Logs and Troubleshooting
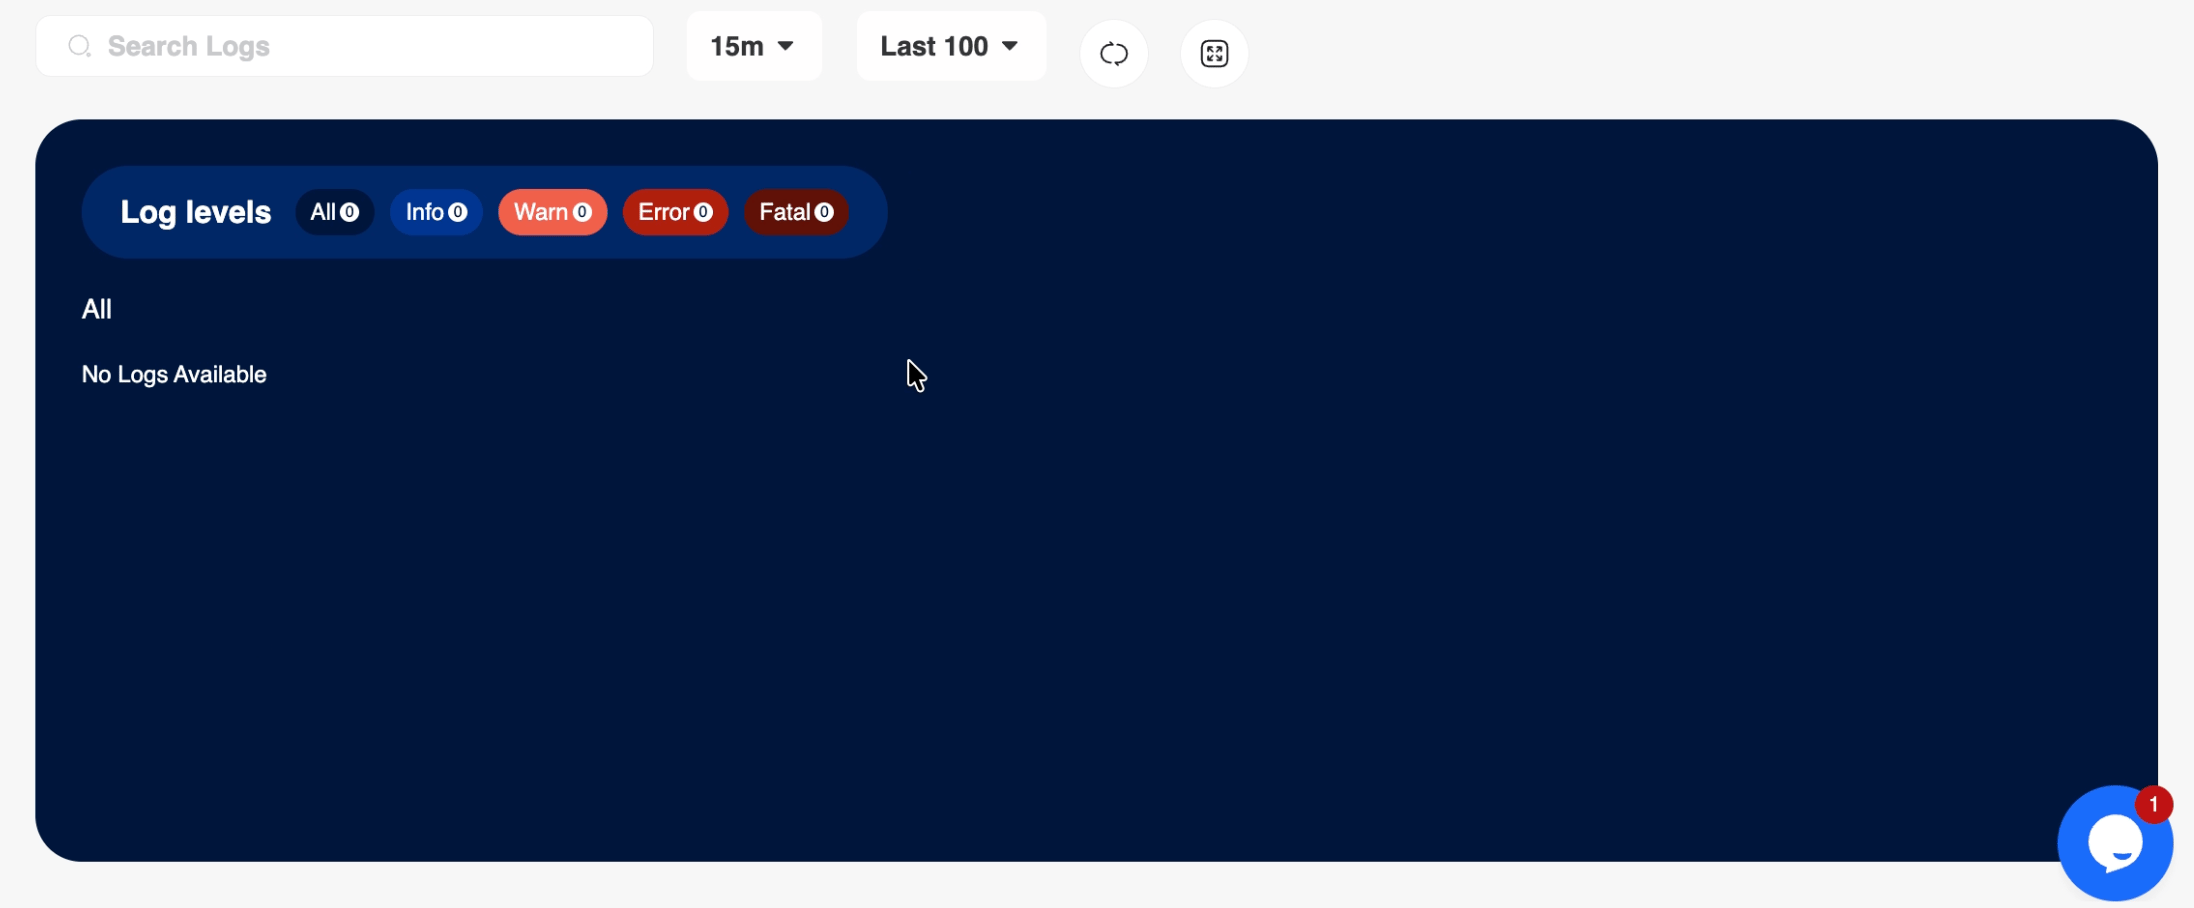
The Logs section provides access to your indexer’s runtime logs. You can filter logs by level:- All: Shows all log entries
- Info: Informational messages about normal operation
- Warn: Warning messages indicating potential issues
- Error: Error messages requiring attention
- Fatal: Critical errors that may have caused the indexer to stop
Managing Your Indexers
As your project grows, you may deploy multiple indexers for different protocols or use cases. The Pulsar dashboard provides a unified view of all your indexers.Dashboard Overview
The main Pulsar dashboard displays a list of all your indexers when clicked on displays key information at a glance:- Indexer Name: Click to view detailed information
- Status: Ready, Syncing, Error, or Stopped
- Framework: The Graph or SubQuery
- Graph Node Endpoint: The GraphQL endpoint URL for queries
- Created Date: When the indexer was deployed
Querying Your Indexer
Once your indexer is synced, you can query it using the GraphQL endpoint URL displayed in the dashboard. This endpoint supports standard GraphQL queries and subscriptions. Example query structure for The Graph indexers:/graphql to your endpoint URL.
Best Practices
Following these best practices will help you get the most out of Pulsar and ensure your indexers run smoothly. Choosing the Right Database- Use Shared Database for development, testing, and low-traffic production applications
- Use Dedicated Database for high-traffic production applications or when consistent performance is critical
- Monitor your database performance and upgrade if you notice query latency increasing
- Regularly check the Sync Status to ensure your indexer is keeping up with the blockchain
- Set up alerts for when “Blocks Behind” exceeds a threshold (e.g., 100 blocks)
- Review logs periodically for warnings or errors
- Monitor your GraphQL endpoint response times
- Design efficient subgraph schemas to minimize indexing time
- Use appropriate entity relationships to avoid excessive database queries
- Consider using time-series patterns for high-volume event data
- Test your indexer on a testnet before deploying to mainnet
- Keep your GraphQL endpoint URL confidential - it provides direct access to your indexed data
- Implement authentication in your application layer if sensitive data is being indexed
- Regularly update your indexer to the latest subgraph versions for security patches
Troubleshooting Common Issues
This section helps you diagnose and resolve common issues you might encounter. Indexer Not Syncing- Symptoms: Sync Status stays at 0% or doesn’t increase over time.
- Possible Causes and Solutions:
- RPC Connection Issues: Check the Logs for RPC-related errors. Try updating to a different RPC endpoint using the Update RPC action.
- Subgraph Configuration Error: Verify your subgraph manifest and schema are correctly configured. Check logs for parsing errors.
- Network Congestion: During high network activity, sync may be slower than usual. Monitor the Blocks Behind metric.
- Symptoms: The “Blocks Behind” metric shows a high number and keeps increasing.
- Possible Causes and Solutions:
- Insufficient Resources: Consider upgrading to a Dedicated Database for better performance.
- Complex Indexing Logic: Optimize your subgraph handlers to process events more efficiently.
- RPC Rate Limiting: Even with dedicated RPC, extreme load can cause delays. Contact support if this persists.
- Symptoms: Queries to your endpoint timeout or return errors.
- Possible Causes and Solutions:
- Indexer Not Fully Synced: Wait for sync to complete before querying. Partial data may be available but inconsistent.
- Database Overload: High query volume can overwhelm shared databases. Consider upgrading or implementing caching.
- Network Connectivity: Verify your application can reach the endpoint URL. Check for firewall or DNS issues.
Getting Help
If you encounter issues not covered here:- Check the Logs section for specific error messages
- Contact Blockops Support with your indexer name and error details
- Join the Blockops community Discord for peer support
Follow us on Twitter for more information on upcoming protocols and developments.