

- L1 smart contract deployment and verification
- Sequencer, prover, and node provisioning
- RPC endpoint allocation and load balancing
- Block explorer configuration
- Genesis state and chain configuration
- Automatic scaling and high-availability guarantees
The Problem Rollups Solve
Building applications on shared Layer 1 or Layer 2 blockchains introduces significant constraints that limit user experience and business model viability. The Traditional Challenges Before dedicated rollup infrastructure like Blockops, developers faced fundamental hurdles:
How Blockops Rollups Addresses These Challenges
Blockops eliminates these pain points by providing:
- Dedicated Blockspace: Your application never competes for gas. Fixed, predictable costs regardless of external network activity.
- One-Click Deployment: Deploy a complete L2 chain in ~15 minutes. No smart contract deployment, node configuration, or DevOps expertise required.
- Ethereum-Grade Security: All state roots settle to Ethereum L1. Your rollup inherits Ethereum’s security guarantees and censorship resistance.
- Managed Infrastructure: We operate sequencers, provers, and RPC nodes. You focus on building your application.
- Instant Tooling: Dedicated block explorer, JSON-RPC endpoints, and WebSocket connections provisioned automatically.
- Clear Upgrade Path: Start free on testnet. Scale to mainnet with our team’s support when ready for production.
Getting Started
This section walks you through deploying your first rollup on Blockops. By the end, you’ll have a fully operational Layer 2 blockchain syncing with Ethereum and serving RPC requests. Step 1: Accessing the Rollup Dashboard Navigate to your Blockops project dashboard. In the left sidebar, locate the Products section and click Rollup to access the Rollup dashboard. If this is your first time using Rollups, you’ll see an empty state dashboard with a prominent “Create Rollup” button and the message “You don’t have any rollups yet.”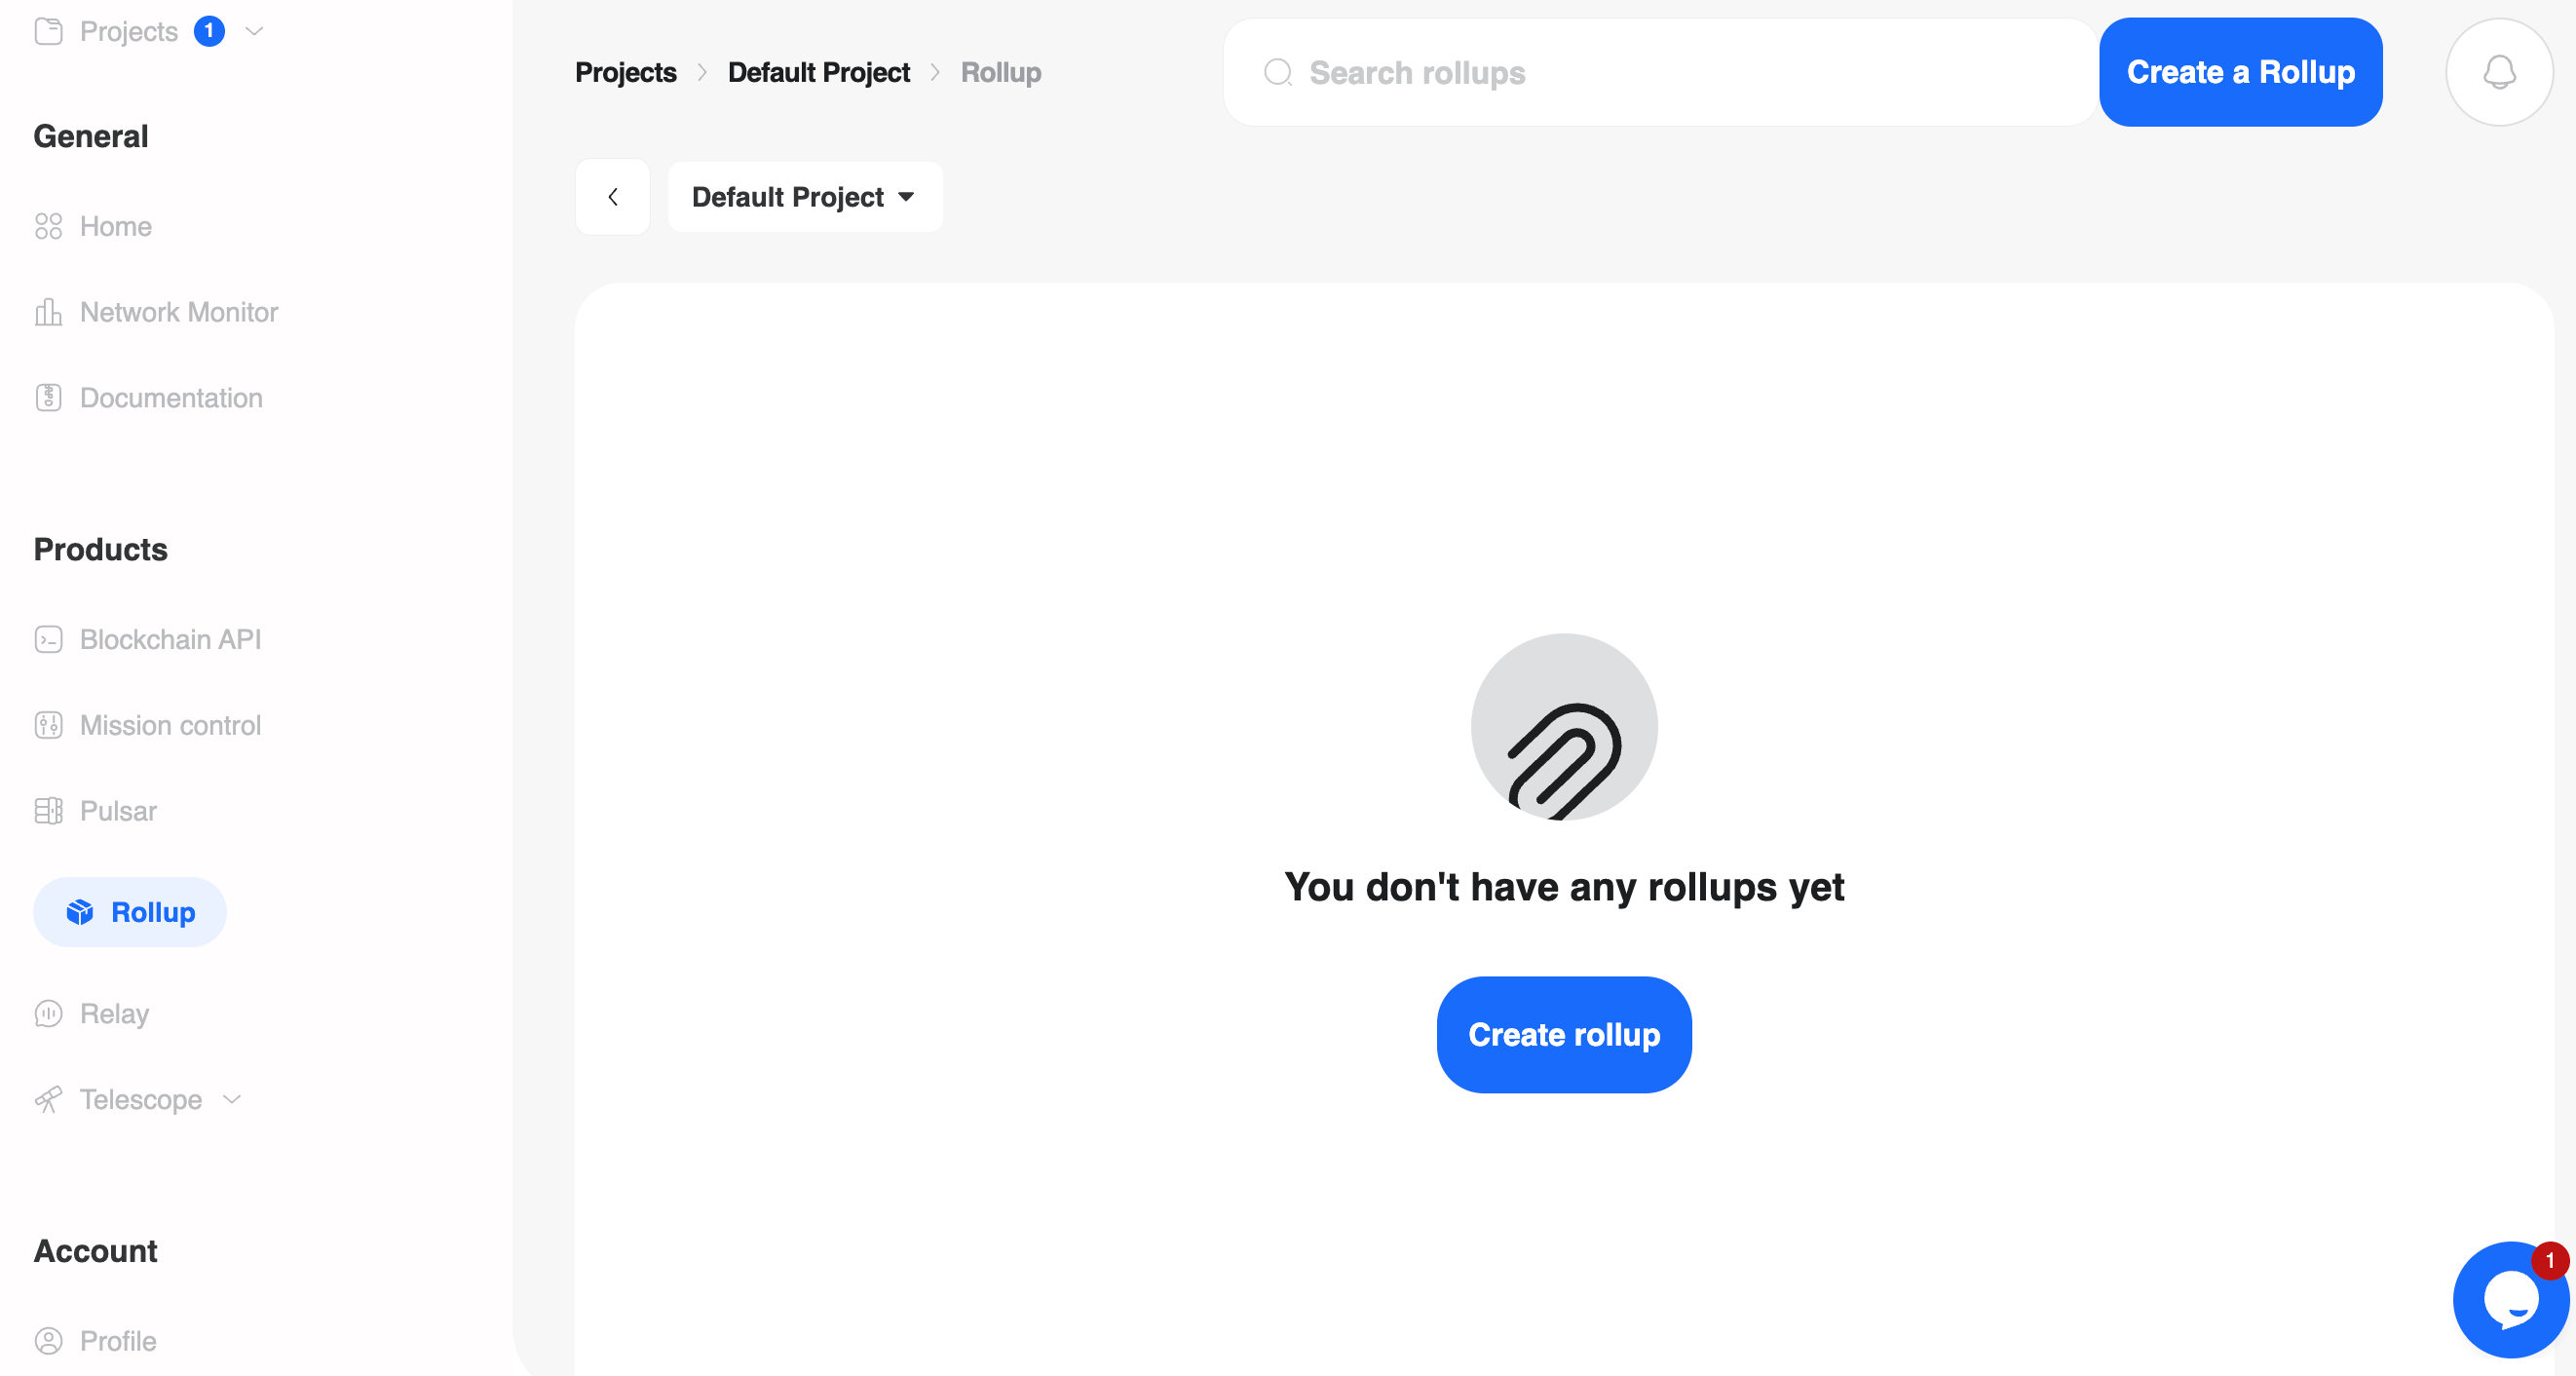
Figure 1: The Rollup dashboard empty state. The "Create Rollup" button initiates deployment.
- Appears in your Blockops dashboard
- Forms your RPC endpoint URL:
https://[chain-name].rollup.blockops.network - Labels your dedicated block explorer
- Identifies your chain in wallet configurations
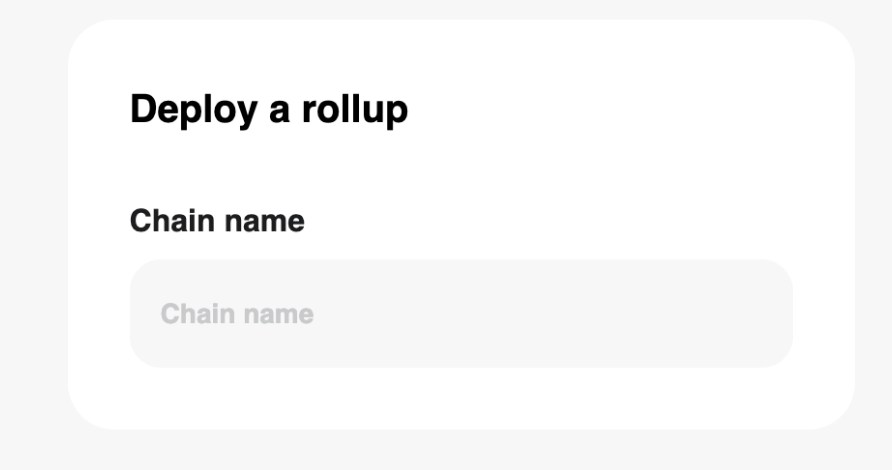
- Use lowercase letters, numbers, and hyphens only
- Include your project or organization name (e.g., acme-defi-testnet)
- Add environment indicators for clarity (-testnet, -staging)
- Keep it concise but descriptive (maximum 30 characters recommended)
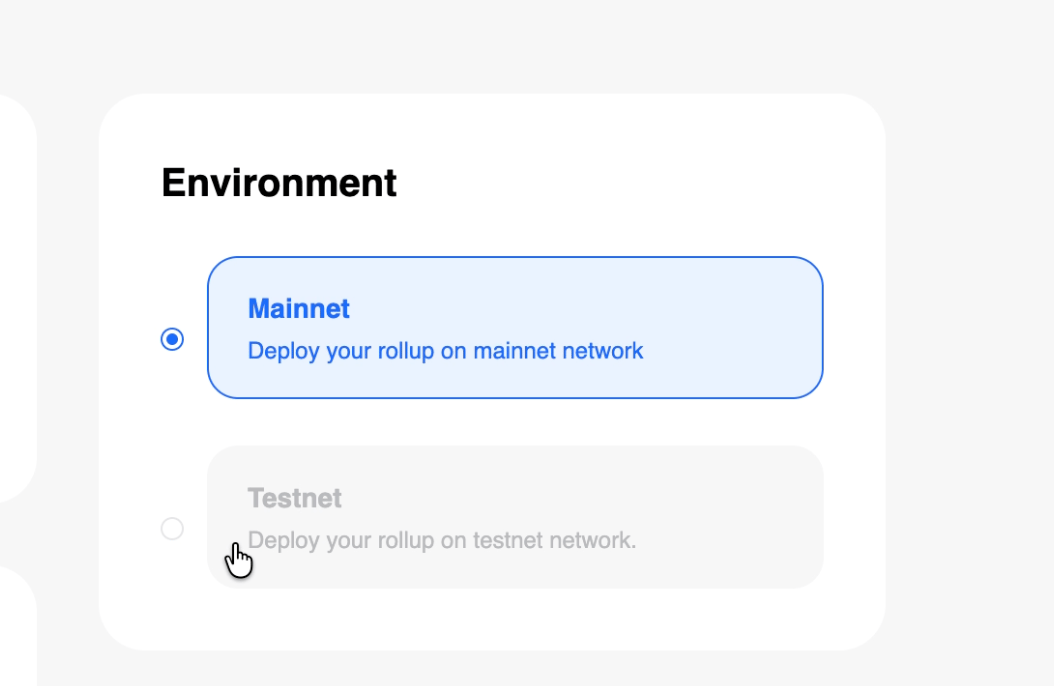
- Deploys to Ethereum Sepolia (settlement layer)
- No real economic value, safe for experimentation
- Identical architecture to mainnet
- Perfect for smart contract testing and integration validation
- Deploys to Ethereum Mainnet (settlement layer)
- Real economic security and value
- Requires security review and economic parameter configuration
- Clicking Mainnet displays a confirmation modal requesting a meeting with our team
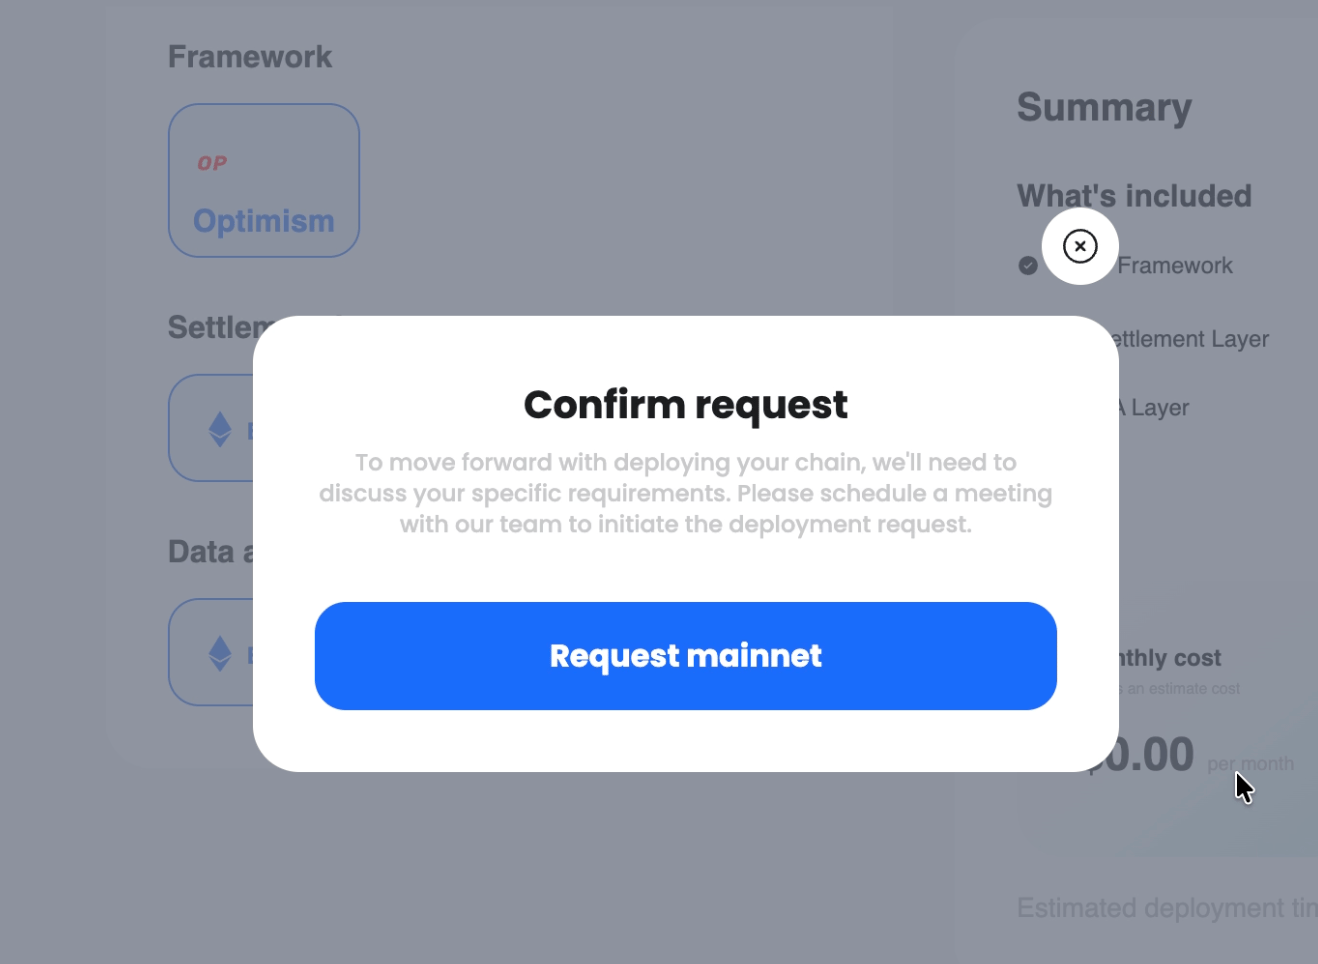
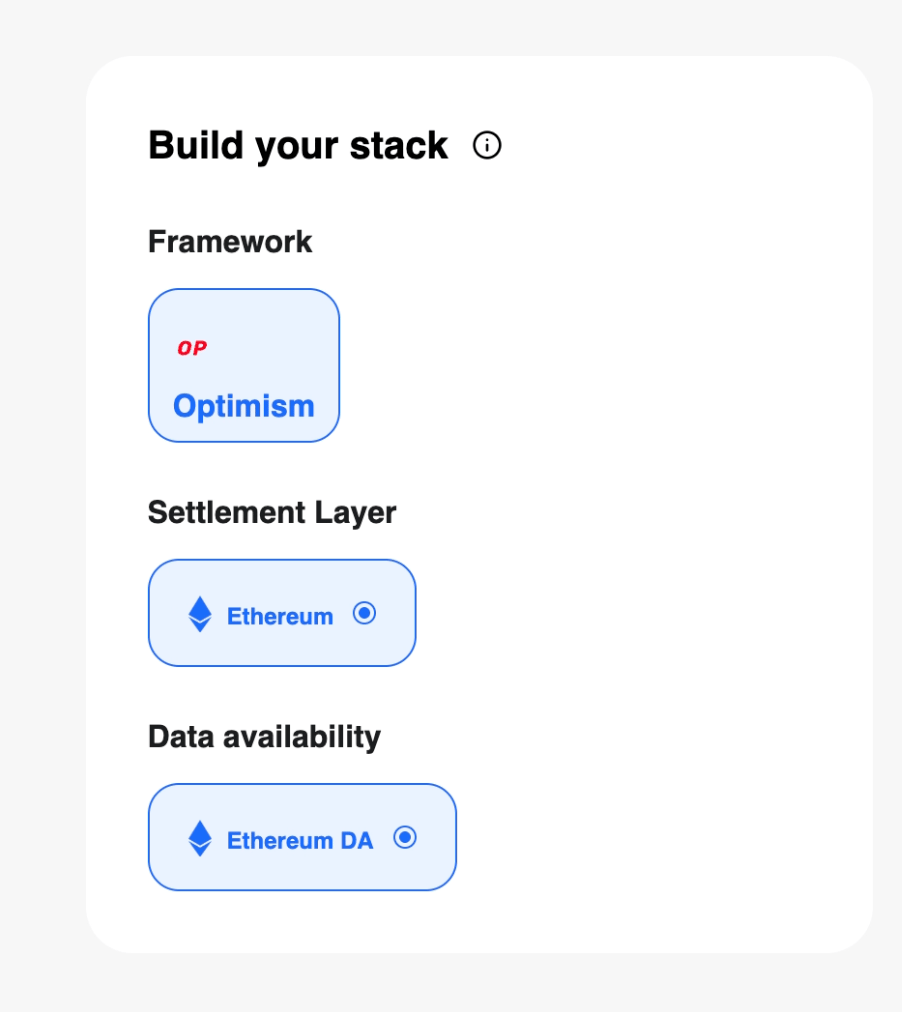
These defaults are optimized for:
- Security: Ethereum-grade settlement and data availability
- Cost-efficiency: Blob transactions reduce DA costs vs. calldata
- Compatibility: Full EVM equivalence, existing tooling works out-of-the-box
- Future-proofing: Superchain compatibility for interoperability
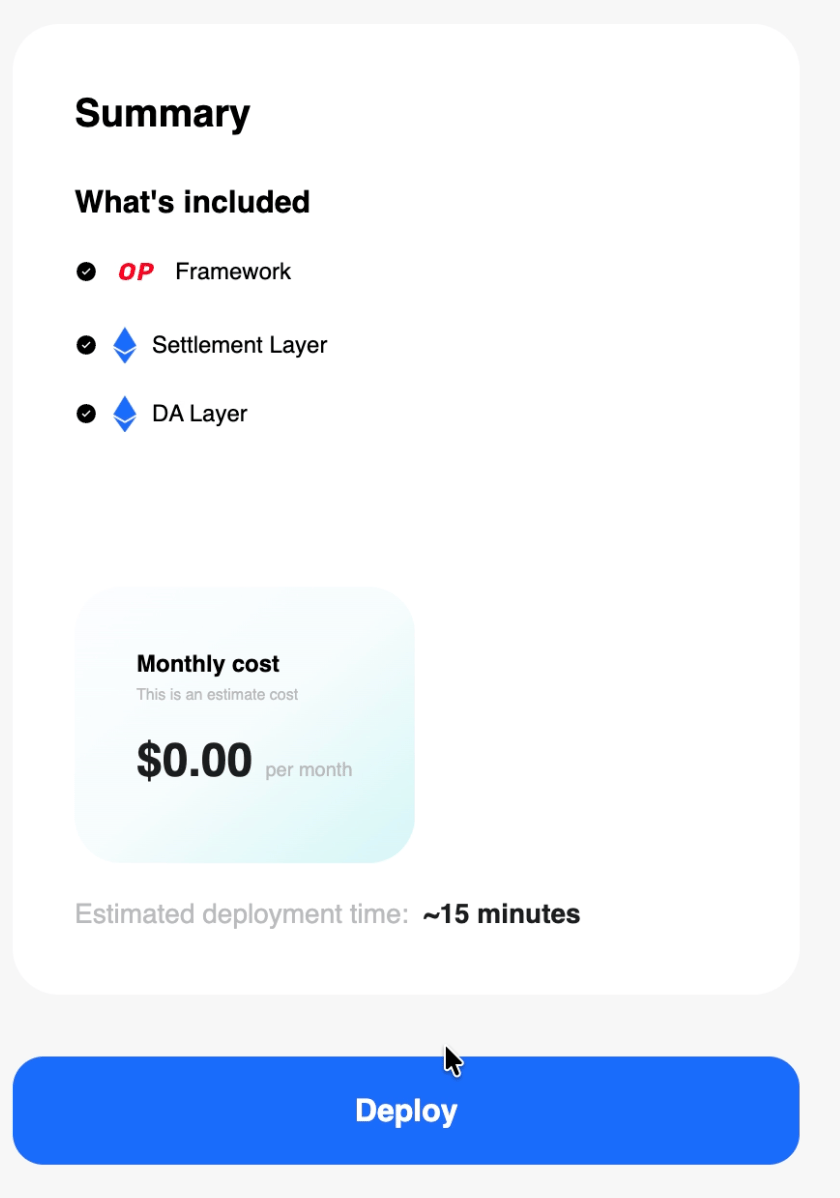
Click Deploy to initiate the automated provisioning process. The system will:
- Compile and deploy 40+ smart contracts to Ethereum L1 (SystemConfig, OptimismPortal, L1StandardBridge, FaultDisputeGame, and proxy contracts)
- Provision sequencer infrastructure with high-availability configuration
- Configure prover systems for fault proof generation
- Deploy RPC nodes with load balancing
- Initialize block explorer with your chain’s configuration
- Generate genesis state and chain configuration files
- Begin L2 block production once L1 contracts are confirmed
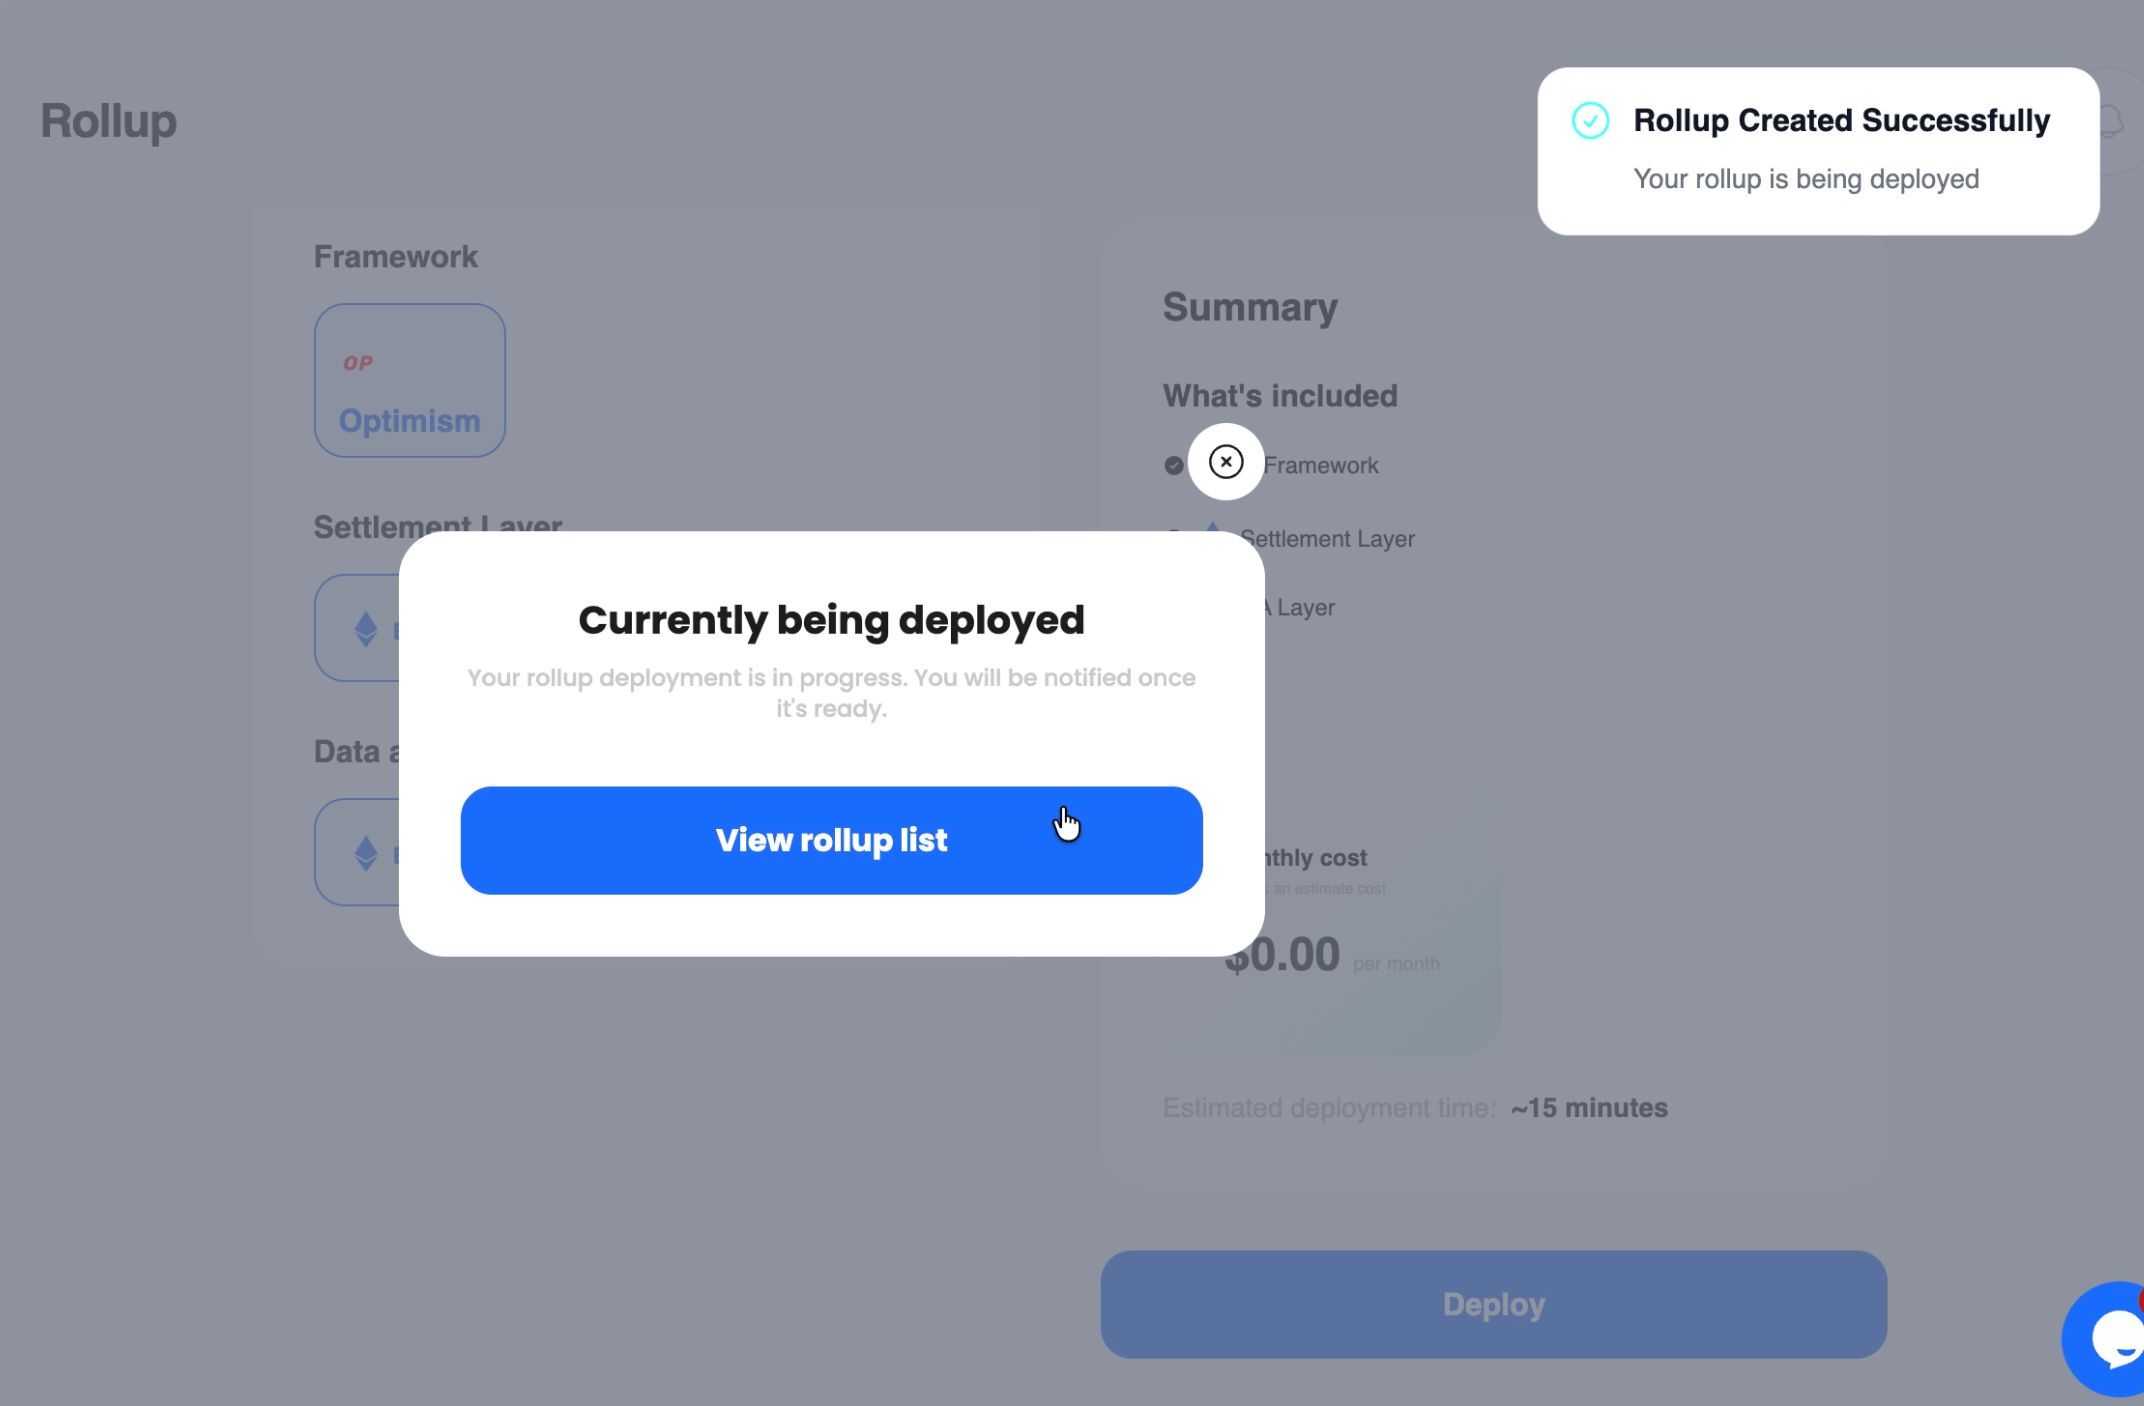
- Click “View rollup list” to monitor progress
- Your rollup appears in the dashboard with “Deploying” status (orange badge)
- RPC column shows
--------(not yet available) - This process typically takes 10-30 minutes depending on L1 confirmation times

- Status changes to “Ready” (green badge)
- RPC column remains
--------(accessible in detail view) - Your chain is live and accepting transactions

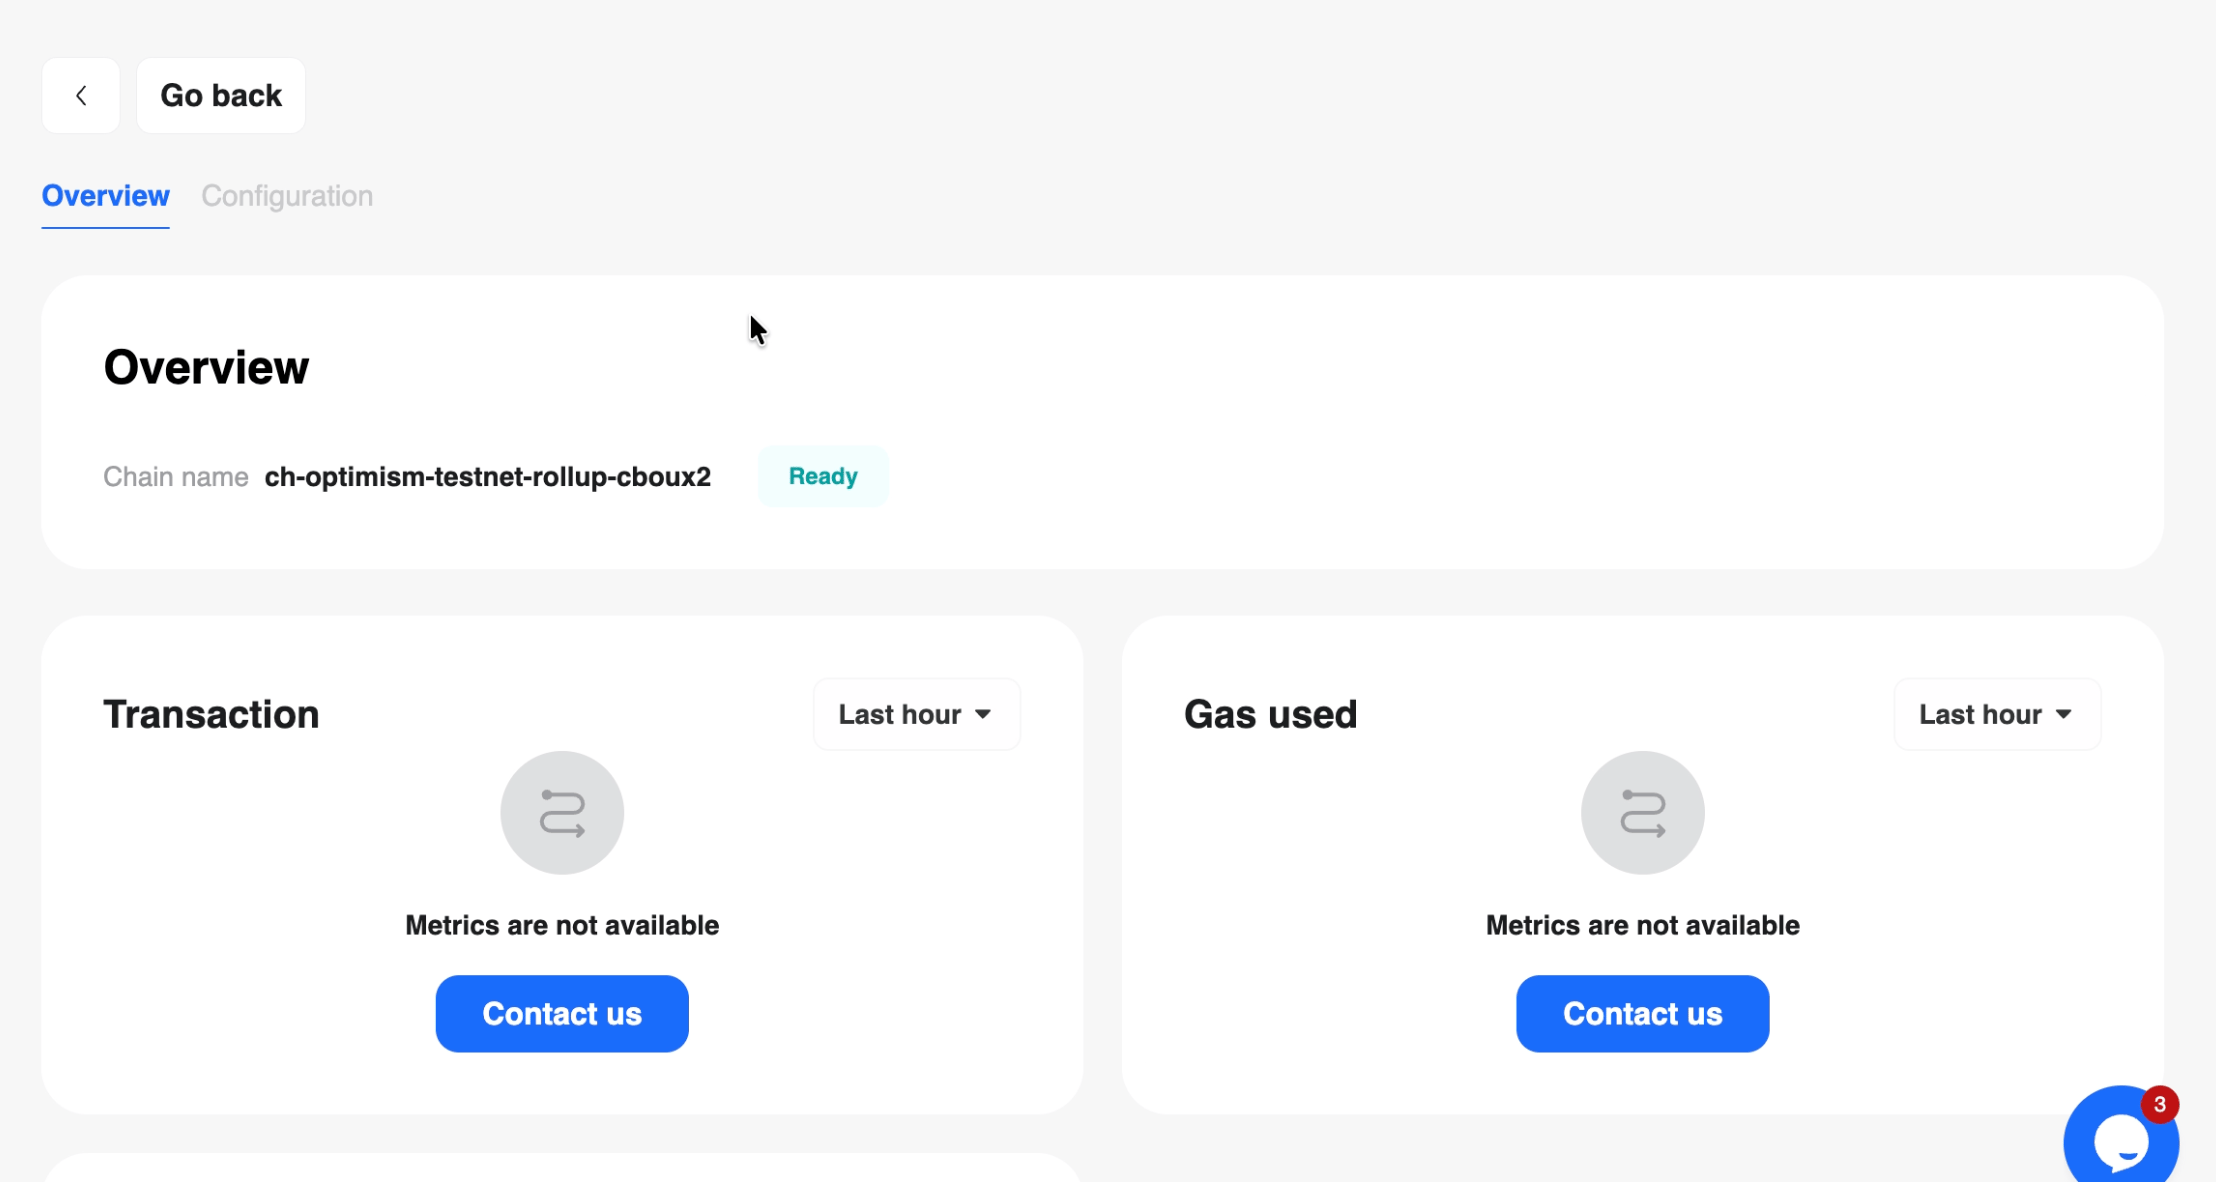
- Chain Name: Your rollup’s identifier (e.g., ch-optimism-testnet-rollup-cboux2)
- Status: Ready (green badge) indicates full operational status
- Metrics Panels:
Important: These panels display “Metrics are not available” immediately after deployment. This is expected behavior. Metrics populate once your chain processes its first transactions. Each panel includes a “Contact us” button for support if metrics fail to appear after transaction activity.
Time Range Selector: Each panel includes a “Last hour” dropdown to adjust the metrics time window (options typically include Last hour, Last 24 hours, Last 7 days, Last 30 days).
Configuration Tab
The Configuration tab contains all technical details required to integrate with your rollup.
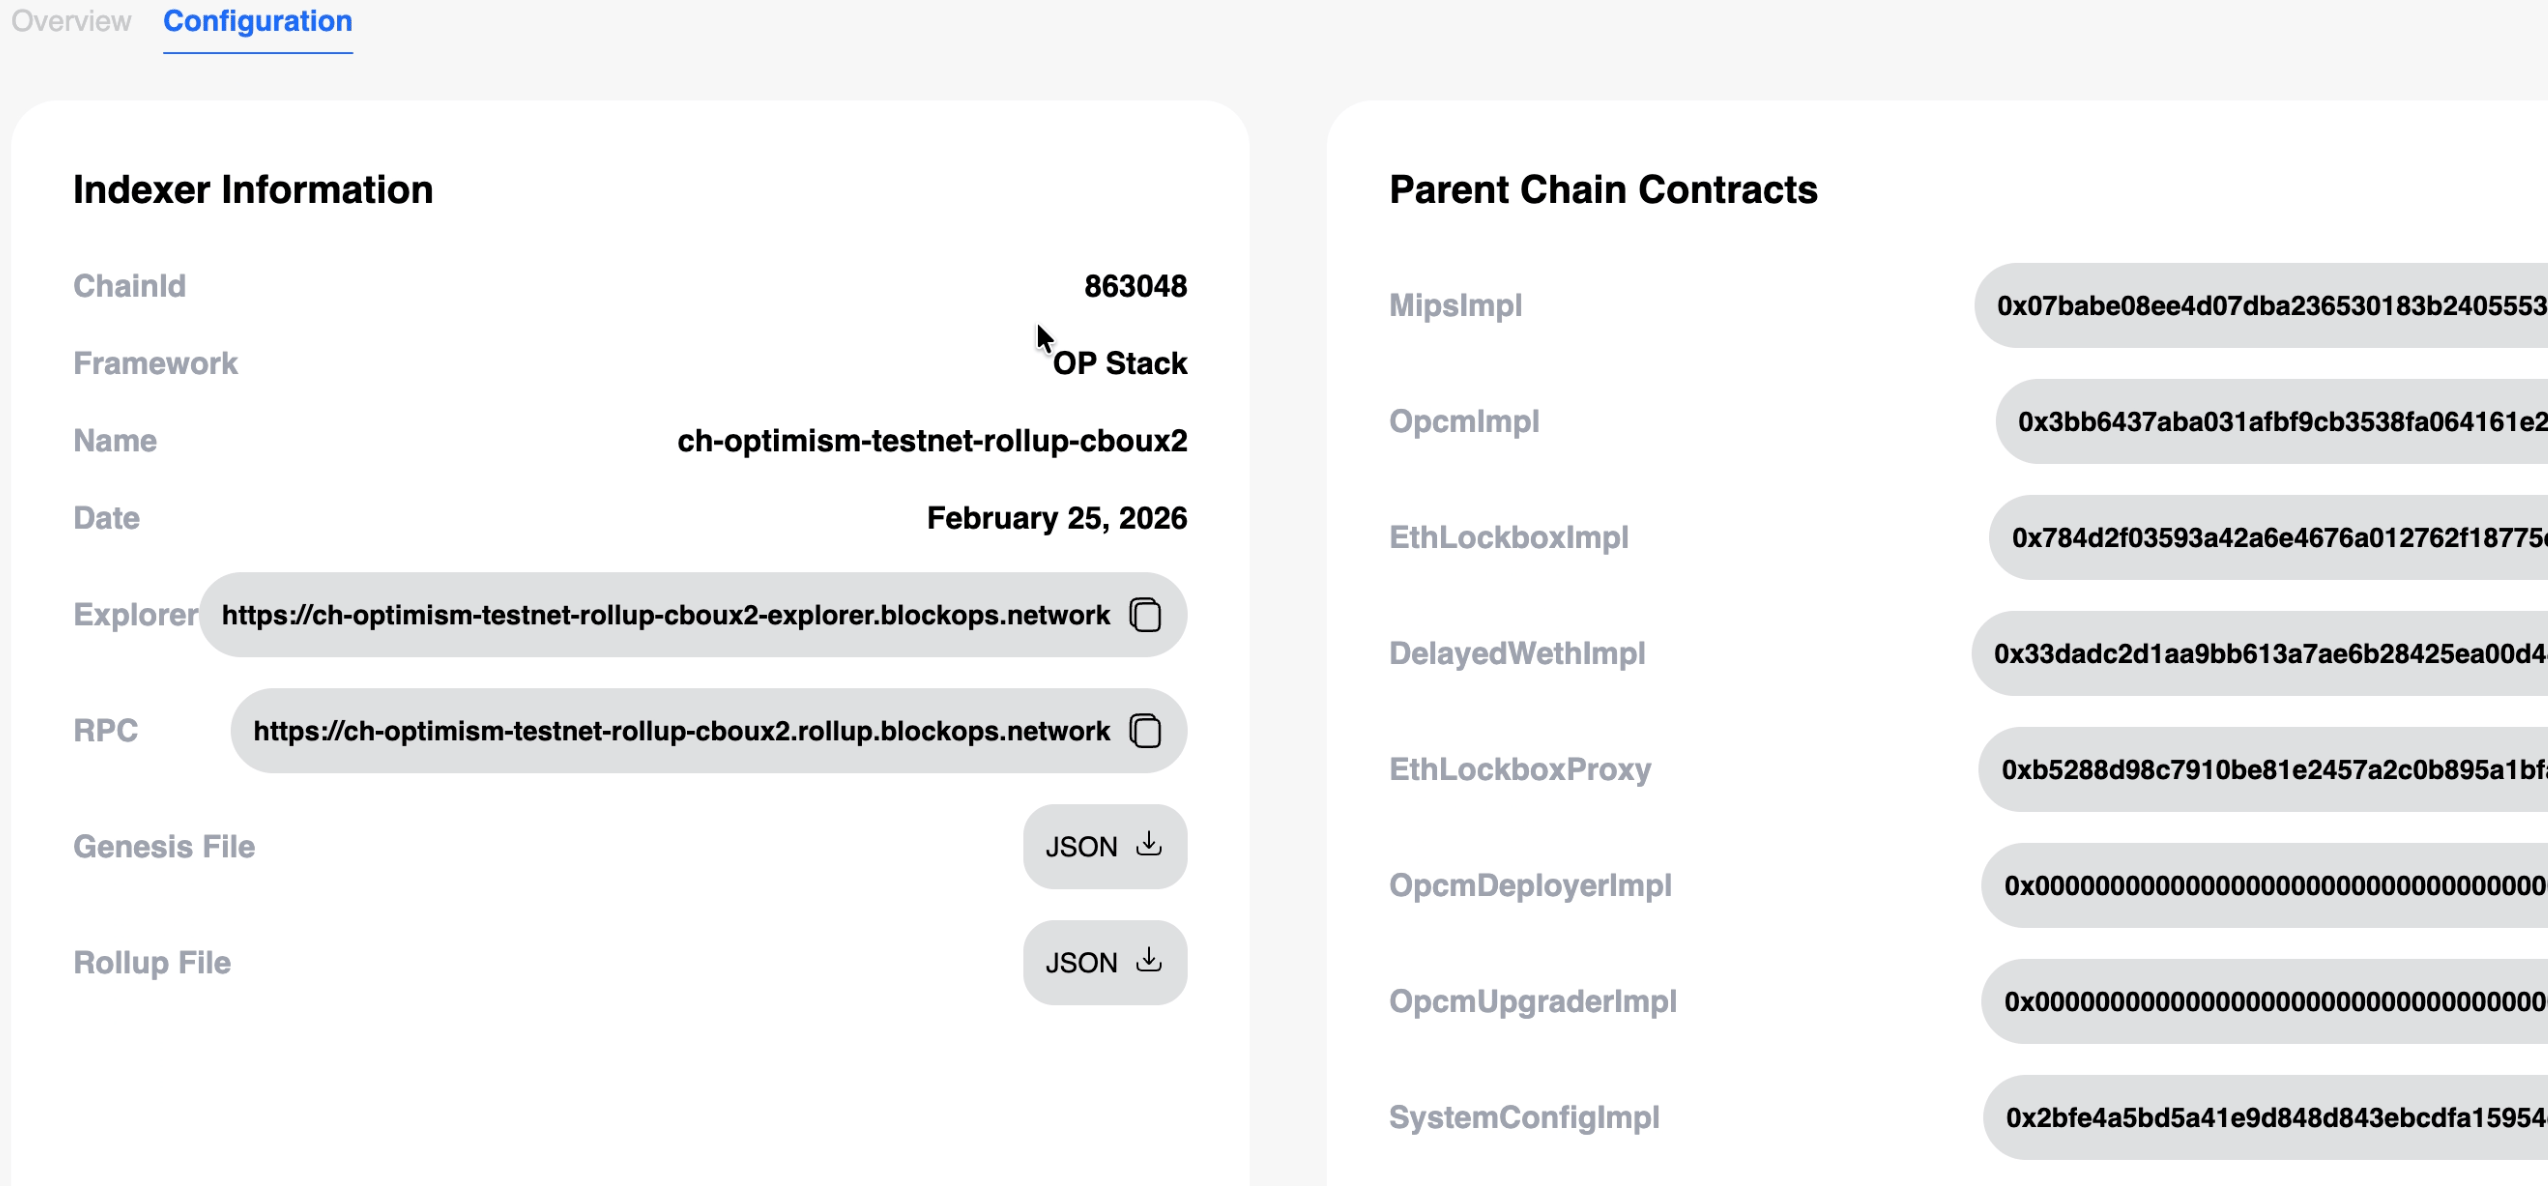
Parent Chain Contracts Section:
This section lists all L1 (Ethereum) smart contracts deployed for your rollup. These contracts manage the bridge, settlement, and security of your L2 chain.
Contract Categories:
Each contract entry displays:
- Contract Name (e.g., OptimismPortalImpl)
- Ethereum Address (0x… format, truncated with full address on hover)
- Copy Button (clipboard icon) - copies address to clipboard
- External Link Button (arrow icon) - attempts to open in block explorer
5.2 Configure Hardhat
- Return to the Overview tab
- Metrics panels will populate with real data
- Use your Block Explorer to view detailed transaction, block, and contract information
Managing Your Rollups
As your project grows, you may deploy multiple rollups for different environments or use cases. The Rollup dashboard provides unified management. Dashboard Overview The main Rollup dashboard displays all your rollups with key information:
Available Actions
Delete Rollup
The trash icon in the Actions column permanently deletes your rollup and all associated infrastructure. This action cannot be undone.
Warning: Deleting a rollup removes all L2 state, RPC endpoints, and explorer data. L1 contracts remain deployed but become inaccessible. Ensure you have backups of any critical data before deleting.
Best Practices
Following these guidelines ensures optimal rollup performance and reliability. Naming Conventions- Environment indicators: Use -testnet, -staging, -prod suffixes
- Project identification: Include organization or project name
- Versioning: Add version numbers for iterative deployments (-v1, -v2)
- Example: acme-defi-testnet-v1
Security Considerations
- Keep RPC URLs confidential: They provide direct access to your chain
- Implement access controls: Use application-layer authentication for sensitive operations
- Monitor L1 contracts: Regularly verify contract states on Etherscan
- Plan upgrade paths: Understand proxy contract upgrade mechanisms before mainnet deployment
- Testnet is free: Use extensively for development and testing
- Mainnet requires planning: Contact sales early for production budgeting
- Monitor resource usage: Track RPC call volume and explorer usage
Troubleshooting Common Issues
Issue: Status Stuck on “Deploying”- Symptoms: Rollup remains in “Deploying” status beyond 45 minutes.
- Possible Causes:
- L1 network congestion delaying contract deployments
- Complex genesis configuration requiring additional validation
- Infrastructure provisioning delays
- Solutions:
- Wait up to 60 minutes for L1 confirmations
- Check Sepolia Etherscan for pending transactions from your deployer address
- Contact support with your rollup name if exceeded 60 minutes
- Symptoms: Overview tab shows “Metrics are not available” after transaction activity.
- Possible Causes:
- Indexing service lag
- Metrics pipeline delay
- No actual transaction activity confirmed
- Solutions:
- Verify transactions using your block explorer instead of dashboard metrics
- Wait 5-10 minutes for metrics pipeline to process
- Click “Contact us” in the metrics panel for support escalation
- Symptoms: Clicking external link on contract addresses shows “Error 404.”
- Status: Known issue under resolution.
- Workaround:
- Use the copy button (clipboard icon) next to the contract address
- Navigate manually to Sepolia Etherscan (for testnet)
- Paste the address in the search bar
- Symptoms: Cannot connect to RPC endpoint from wallet or application.
- Possible Causes:
- Endpoint still provisioning (status not yet “Ready”)
- Incorrect Chain ID in configuration
- Network connectivity issues
- Solutions:
- Verify rollup status is “Ready” in dashboard
- Double-check Chain ID matches Configuration tab exactly
- Test RPC URL directly:
curl -X POST [RPC_URL] -H "Content-Type: application/json" -d '{"jsonrpc":"2.0","method":"eth_blockNumber","params":[],"id":1}' - Verify no firewall or VPN blocking HTTPS connections
- Symptoms: L2 transactions more expensive than expected.
- Note: This is uncommon on dedicated rollups, but possible if:
- L1 blob fees are unusually high
- Complex contract interactions consuming significant L2 gas
- Misconfigured gas estimation in application
- Solutions:
- Check L1 blob base fee on Sepolia (testnet) or Etherscan (mainnet)
- Optimize contract code to reduce gas consumption
- Contact support for gas parameter review
Getting Help
If you encounter issues not covered here:
When contacting support, provide:
- Rollup name (exactly as shown in dashboard)
- Current status (Deploying, Ready, Error)
- Specific error messages or screenshots
- Steps already attempted
Rollup terms are defined in the Glossary.
Follow us on Twitter for more information on upcoming protocols and developments.